ALDON 4022-26 Manual de instrucciones - Página 2
Navegue en línea o descargue pdf Manual de instrucciones para Instrumentos de medida ALDON 4022-26. ALDON 4022-26 8 páginas. Spot check magnetic laser gauge and clearance measuring device

Before using our SPOT CHECK MAGNETIC LASER GAUGE, while working in the
field, always install blue flag protection for worker safety (for additional
information, see inside back cover or visit aldonco.com).
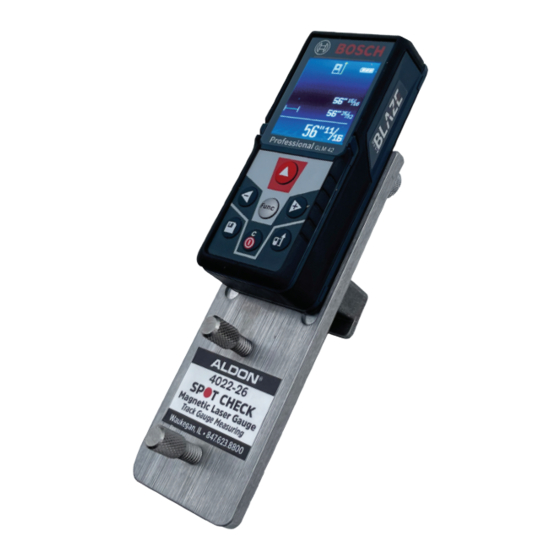
Aldon® SPOT CHECK MAGNETIC LASER GAUGE should arrive to you fully
assembled, inspected for accuracy, and ready to use. If the laser is reset to
factory defaults follow these simple steps to setup the laser.
Step 1. Setup System Units
Aldon® SPOT CHECK MAGNETIC LASER GAUGE laser can display
measurements in the following units:
• Inches (1/32in resolution)
• Feet (0.001ft resolution)
• Feet & Inches (1/32in resolution)
Step 2. Set Indexing Point
The SPOT CHECK MAGNETIC LASER GAUGE can take measurements from the
laser's bottom edge, top edge, or from a tripod point. To use the laser for
measuring track gauge or overhead clearance, the laser must be set to index
from the laser's bottom edge.
INDEX KEY
2
Aldon® Spot Check Magnetic Laser Gauge #4022-26
LASER SETUP AND SETTINGS
To adjust the units of measure press and hold the
[FUNC] key in the middle of the keypad. When the
screen changes to a menu, release the button.
Using the [LEFT ARROW "-"] and [RIGHT ARROW
+"] keys, rotate the menu to the "ft/m" setting. Then
press the [FUNC] key to enter into the units menu.
Using the [LEFT ARROW "-"] and [RIGHT ARROW "+"]
keys, rotate the menu to the desired units of
measure. Press the [FUNC] key to set the units.
To select the indexing point press the index key on
the key pad.
Using the [left arrow "-"] and [right arrow "+"] keys,
rotate the menu to the image showing the yellow
arrow originating from the bottom of the laser. Press
the [Func] key to set the index point.
•
Meters (0.001m resolution)
• Centimeters (0.01cm resolution)
