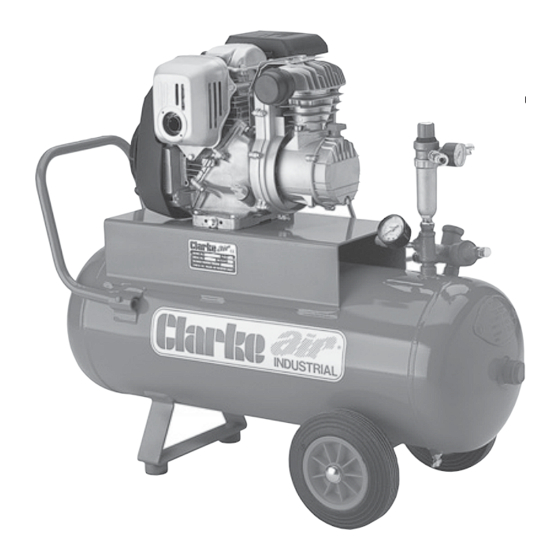
Clarke PP9ND Manual de funcionamiento y mantenimiento - Página 8
Navegue en línea o descargue pdf Manual de funcionamiento y mantenimiento para Compresor de aire Clarke PP9ND. Clarke PP9ND 10 páginas. Air compressor

STARTING AND USING THE COMPRESSOR
1. CFP9D
NOTE: For first time operation, disconnect the air hose from the air outlet and
proceed as follows:
1.
Start the engine, according to the instructions contained in the engine service
manual, and allow to run for 10 minutes.
2.
After a ten minute period, stop the
engine and attach an air hose to
the air outlet and the tool.
3.
Screw the pressure regulator fully
anticlockwise, then restart the
engine and allow presure to build
up in the receiver.
Screw the pressure regulator
clockwise until the pressure,
registered on the Pressure Gauge,
is 100psi.
At this point, check the system for
air leaks. If any are apparent, stop
the engine and operate the tool
until the air pressure is at zero, or
open the drain cocks before
rectifying.
NOTE: Air will blow off at the bleed hole
when the pressure reaches 100psi,
which is the MAX. operating pressure.
4.
With the engine running, turn the pressure regulator so that your desired
pressure is registered on the gauge, and proceed to use the air tool in
accordance with the manufacturers instructions.
When starting subsequently, start the machine as follows:
1.
At the begining of the day, open the drain cock (see Fig.1) and allow any
condensate to drain completely, then close the cock.
2.
Connect the air hose to the air outlet and tool, and set the pressure regulator
to zero pressure (turned fully anticlockwise).
3.
Start the engine in accordance with the instructions contained in the engine
service manual, and allow pressure to build up.
4.
When the pressure in the receiver has built up and air blows off at the bleed
hole, turn the outlet pressure regulator clockwise so that the desired pressure is
registered on the pressure gauge and proceed to use the air tool/spray gun.
5.
Check for air leaks at the tool and connectors...as above, before proceeding.
- 8 -
Unusual noise from
compressor.
Compressor
Fig.2
becomes too hot.
Bolts loose.
Tighten bolts.
Flywheel loose.
Tighten flywheel.
Unit installed on an unsuitable
Move unit to a more solid base.
base.
Bearings, piston rings or cylinder
Replace worn parts or change
worn.
compressor pump.
Valve broken.
Change valve parts.
Insufficient ventilation.
See that sufficient air is supplied to
flywheel or fan of compressor and
that hot air is properly vented.
Fill with oil – see Page 10.
Oil level too low (check 2 or 3
times after stopping).
Check, clean/replace.
Fault in valves (machine not
stopping).
Check and replace gasket.
Blown head gasket (machine
not stopping).
Dirt on cooling fins or suction
Clean cooling fins and suction
filter.
filter.
Unit working at too high a
Reset to correct working pressure
on Load Genie
pressure.
Not fully unloading (PP9ND)
Check pressure unloading genie,
adjust if necessary, check
valve(s).
Non-return valve partly blocked.
Clean or thaw out non return
valve.
Compressor being
Use a larger capacity
overworked and running
compressor
continuously.
- 13 -
