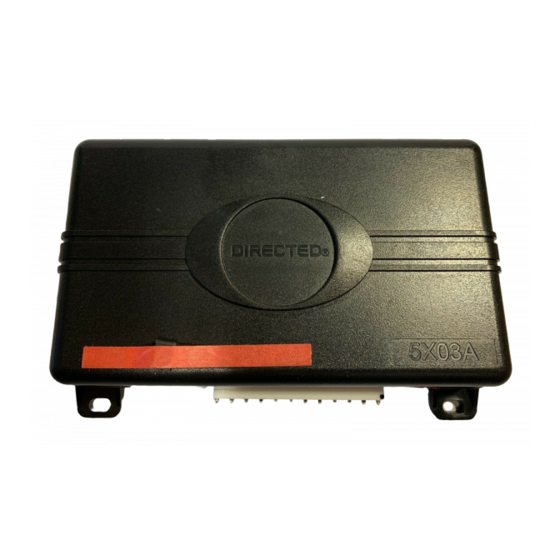
Directed Electronics 4103 Series Manual de instalación - Página 14
Navegue en línea o descargue pdf Manual de instalación para Alarma de coche Directed Electronics 4103 Series. Directed Electronics 4103 Series 20 páginas. Remote start with keyless entry; multi-button remote
También para Directed Electronics 4103 Series: Manual de instalación de referencia rápida (2 páginas)

6. 2nd Ignition behavior
1. Ignition 2: the relay will emulate the Ignition 1 output during remote start.
2. Accessory 2: the relay will emulate the Accessory 1 output during remote start.
7. Accessory output
1. Off: the Accessory outputs will be OFF during diesel start delay.
2. On: the Accessory outputs will be ON during diesel start delay.
8. 2nd Status behavior
1. Normal : the output will activate before the ignition outputs turn on, and de-activate after they turn
off during remote start.
2. Latch rear defogger: the output activates 10 seconds after start. It turns off after 10 minutes or upon
remote start off.
3. Pulse rear defogger: the output activates (for 800mS) 10 seconds after start.
9. Anti-grind
1. On: the Orange H1/5 Ground When Locked/Anti Grind output will be activated during remote
start as anti-grind protection.
2. Off: the Orange H1/5 Ground When Locked/Anti Grind output will not be activated during re-
mote start, no anti-grind protection is available.
10. Diesel start delay
1. Off
2. On: Opt 2-4, Timed 15/30/45 seconds: delays the starter output.
11. Timer mode run time
•
12/3/6/9 minutes: sets the runtime when the engine is started by the Timer Mode feature.
Red 4-pin port, Bitwriter/ESP2 or D2D programming
The Red 4-pin plug may be configured as a Bitwriter/ESP2 or D2D port. The factory default is Bitwriter/ESP2
mode.
To use as D2D mode follow the below steps:
1. Make sure White/Blue activation wire is grounded.
2. Power the unit up. The system LED flashes for 5 seconds to confirm D2D mode change.
3. Remove the White/Blue wire from ground.
To change from D2D to Bitwriter/ESP2 mode:
1. Make sure the White/Blue activation wire is grounded.
2. Power the unit up, the system LED turns on solid for 5 seconds to confirm Bitwriter/ESP2 mode change.
3. Remove the White/Blue wire from ground.
The procedure can be repeated to toggle from one mode to the other.
14
Important: If you power up the system with the White/
Blue activation wire ungrounded, the system LED will
come on solid for 5 seconds indicating the system is in
Bitwriter/ESP2 mode.
© 2012 Directed. All rights reserved.
