Armstrong Rada 320D Manual de instalación y mantenimiento - Página 16
Navegue en línea o descargue pdf Manual de instalación y mantenimiento para Unidad de control Armstrong Rada 320D. Armstrong Rada 320D 20 páginas. Water temperature controls groups of fixtures - thermostatic
También para Armstrong Rada 320D: Manual de instalación y mantenimiento (12 páginas), Manual de instalación y mantenimiento (20 páginas)

Cleaning/Renewal of Parts
1.
Internal parts (with the exception of the Thermostat Assembly) can be cleaned using a mild proprietary inhibited
scale solvent e.g. domestic kettle descalent. After descaling, always rinse parts thoroughly in clean water
before refitting.
Note! The body interior must be cleaned carefully and not damaged in any way. Do not use any abrasive
material.
2.
Examine all accessible seals for signs of deformation or damage, and renew as necessary, taking care not to
damage the seal grooves.
3.
Lightly smear all seals and threads with a silicone-only based lubricant to assist re-assembling.
4.
Inspect the thermostat assembly for signs of damage.
Note! This component cannot be tested individually, its service condition should be assessed as part of the
performance check; refer to Commissioning Checks.
5.
Examine the Cartridge Assembly for signs of damage or corrosion; renew as necessary.
Re-assembly
1.
Install a new or an existing cartridge. Align the marked "H" on the hot inlet of the cartridge to hot supply and
"C" on the cold inlet of the cartridge to cold supply.
2.
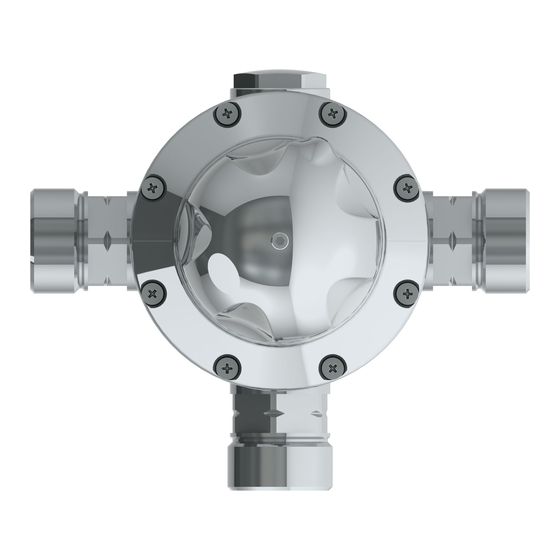
Re-fit the Cartridge Assembly and secure in position with the six phillips head-retaining screws.
3.
Re-fit Temperature Indicator Trim.
4.
Before fitting the hub, the temperature will need resetting; refer to COMMISSIONING.
5.
Re-fit the Hub and Knob.
6.
Tighten the screw using a 3mm Allen Key.
16
