Aercus WS1173 Manual de instrucciones - Página 3
Navegue en línea o descargue pdf Manual de instrucciones para Estación meteorológica Aercus WS1173. Aercus WS1173 11 páginas. Aercus ws1173 wireless weather station

1. Inventory of contents
1)
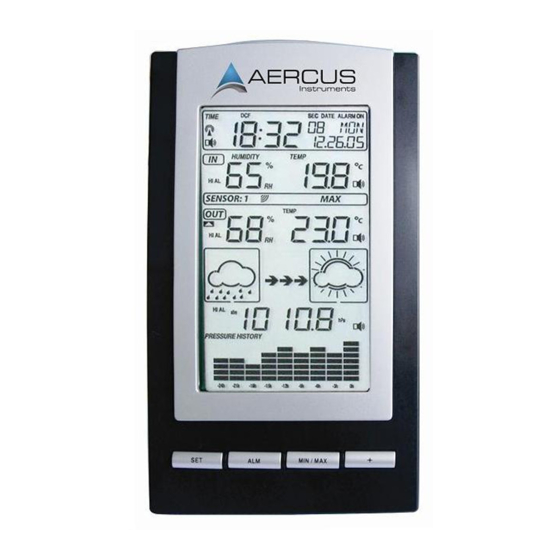
Base station
2)
One WH2 remote sensor with mounting bracket
3)
Instruction manual
2. Features
Wireless outdoor and indoor humidity (%RH)
Wireless outdoor and indoor temperature (°F or °C)
Records min and max humidity
Records min and max temperature
Barometric pressure 24-hour history graph (inHg or hPa)
Weather forecast tendency arrows
Forecast icons based on changing barometric pressure
DCF Radio controlled time and date
12 or 24 hour time display
Perpetual calendar
Time alarm with snooze
Can receive transmissions from one sensor
LED backlight
Wall hanging or free standing
Synchronised instant reception
3. Set up Guide
3.1 Battery installation
Note: To avoid operating problems, please take note of the battery polarity when inserting the
batteries (permanent damage can be caused by inserting the batteries in the wrong direction).
Use good quality Alkaline batteries and avoid rechargeable batteries.
1)
Insert two AAA batteries into the remote sensor.
2)
Insert three AA batteries into the weather station.
3)
Wait 3 minutes or until the outdoor temperature is displayed in the weather station. Do not press any
keys before the outdoor sensor data has been received.
4) Mount the units, ensuring that the receiver can still pick up the signal from the transmitter. To
measure outdoor temperature, place the transmitter outdoors. It will transmit the temperature from its
location.
Every time the remote sensor is powered up (for example after a change of batteries) a random security
code is transmitted and this code must be synchronised with the base station to receive weather data.
Thus if the batteries have been changed on the transmitter, then the receiver must be powered up
again to re-learn the transmitter code.
After the remote sensor is powered up, the sensor will transmit weather data for 30s, and then the sensor
will start radio controlled time reception. During the RCC time reception period (maximum 10 minutes), no
weather data will be transmitted. If the signal reception is not successful within 1 minute, the signal search
will be cancelled and will automatically resume every two hours until the signal is successfully captured.
Regular RF link will be established once RCC reception routine is finished.
Note: DO NOT PRESS ANY KEY during the first 10 minutes of the learning period. After the outdoor
weather data is displayed you can place your remote sensor outdoors and set your time (if no RCC
reception is possible). If there is no temperature reading in the indoor station make sure the units are
within range of each other or repeat the battery installation procedure. If a key is pressed before the
weather station receives the temperature signal you will need to follow the battery installation procedure
again. Please wait 1 minute before re-inserting the batteries again to perform a proper reset for
both the transmitter and receiver.
Note: When batteries require replacement in the base station the low battery indicator will light up on the
LCD.
- 3 -
