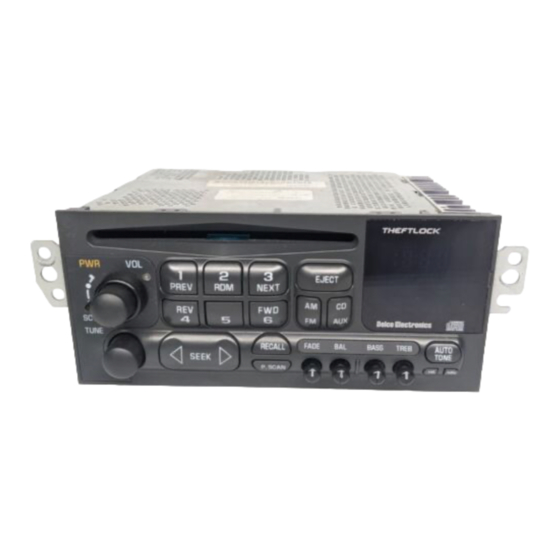
Module options and application:
1. PXHGM4: Select this option to connect streaming module at the radio. This
option DOES NOT include USB charging port or AUX.
2. PXHGM4+ AUX INPUT JACK: Select this option to connect streaming module
at the radio + AUX input (Combination of wireless and wired devices)
3. PXHGM4 + USB-C charging port: Select this option to connect streaming
module at the radio + a USB type-C charging port.
4. PXHGM4+AUX INPUT JACK + USB-C charging port: Select this option to
connect streaming module at the radio, plus AUX input jack + USB Type-C
charging port.
5. PXHGM2: Select this option to connect streaming module to 10-pin CD plug in
trunk/hatch. This option DOES NOT include USB type -C charging port or AUX
6. PXHGM2 + AUX INPUT JACK: Select this option to connect streaming
module to 10-pin CD plug in trunk/hatch. This option DOES NOT include USB-C
type-C charging port.
Note: At present a USB type-C charging port is not offered for trunk/hatch
installs.
USB Type-C charging port
Charging Notes: (not applicable to iPhone 15)
1.
iPhone "Fast charge" kicks in when battery capacity is between 0% and 79%,
but stops when it reaches 80%. Fast charge available on iPhone 8 and newer.
2.
Supports BC1.2, QC2.0, QC3.0, PE1.1, PE2.0, FCP, SFCP fast charge protocols
(Apple, Samsung, Huawei etc.)
Installing USB type-C charging port:
Optional USB type-C charger can be added to the BLU-C5. Should you decide to
add it, we suggest one of 3 installation options:
A. Flush to dash/panel requires drilling a ¾" hole
B. Flush with support bracket (Mount terminal wherever your installation
demands without drilling)
C. Freestanding- (default)
Flush to dash/panel
A.
Drill a ¾" hole in the dash/panel using a step drill bit or equivalent
1.
(See Fig. 10)
Insert cable through hole created in step 1
2.
Locate USB type-C port Fig. 11)
3.
Connect cable from step 2 to charger USB type C- port
4.
(drilling required)
Fig. 10
Step drill bit

