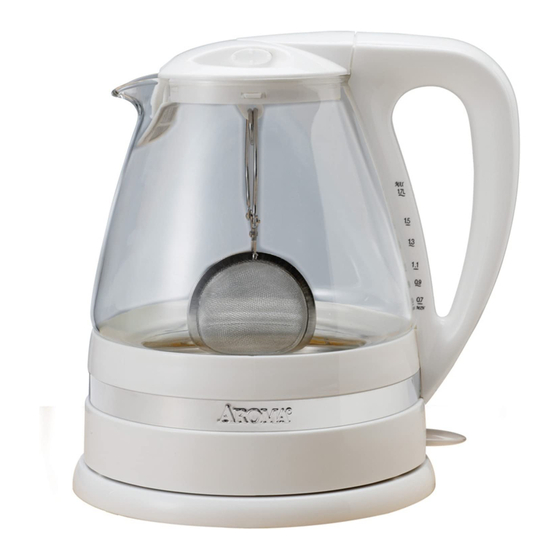
Aroma Clar-i-Tea AWK-161 Manual de instrucciones - Página 7
Navegue en línea o descargue pdf Manual de instrucciones para Hervidor Aroma Clar-i-Tea AWK-161. Aroma Clar-i-Tea AWK-161 12 páginas. Electric water kettle & tea brewer
También para Aroma Clar-i-Tea AWK-161: Manual de instrucciones (12 páginas)

U U S S I I N N G G Y Y O O U U R R W W A A T T E E R R K K E E T T T T L L E E
B B e e f f o o r r e e F F i i r r s s t t U U s s e e : :
Before using for the first time, it is recommended to clean the interior of the
kettle thoroughly. Please follow the procedure below before using the kettle:
1. Remove all packing materials and make sure that product is received in
good condition.
2. Taking care to keep the electrical components on the exterior of the kettle
dry, wipe out the interior of the kettle with a damp, soapy cloth. If your hand
will not fit inside the kettle, swish warm, soapy water around in the interior of
the kettle with the lid closed.
3. Rinse out the inside of the kettle thoroughly with water.
4. With a damp cloth, gently wipe off the exterior of the kettle. Do not wipe off
electrical components. This may cause damage to the unit.
5. Dry all parts completely.
6. It is also recommended to run your kettle through one boiling cycle before
using it to consume beverages. Following the instructions in the "Boiling
Water" section below, boil one kettle of water. When water has boiled, pour
it out and rinse the inside of the kettle once more. Your kettle is now ready
for use.
B B O O I I L L I I N N G G W W A A T T E E R R : :
1. Place power base on a sturdy, level heat-resistant
surface.
2. Remove the kettle lid and fill with water through lid
opening. To remove the lid, press the lid release
buttons on the lid and lift as shown in Figure A.
3. Fill the kettle with the appropriate amount of water.
Do not fill past the "MAX" line on the water level
indicator. Never fill kettle with any liquid other than
water.
HELPFUL HINT:
Use distilled water when possible for best taste and
to minimize mineral build-up in the kettle.
3. Close the lid until it locks securely into place.
4. Making sure the kettle and power base are
completely dry and sitting on a level, sturdy
and heat-resistant surface, place the kettle onto
the power base and plug cord into a wall outlet.
5. Push up the power switch, located on the power
base, to begin the boiling process. The indicator
light will illuminate.
CONTINUED ON NEXT PAGE
All manuals and user guides at all-guides.com
5
Figure A
