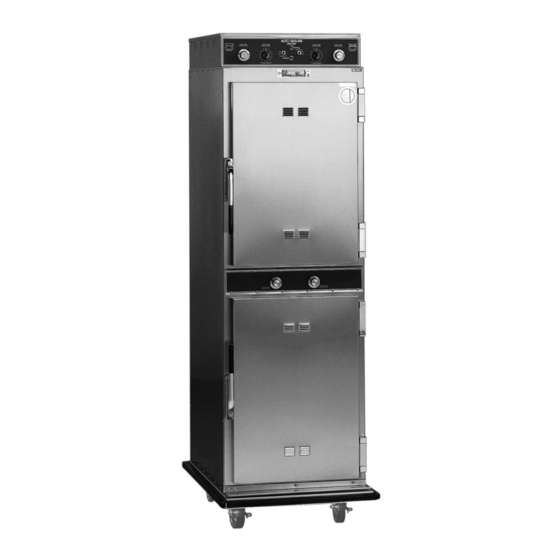
Alto-Shaam 1000-TH-I/STD/D Instrucciones de instalación, uso y mantenimiento - Página 5
Navegue en línea o descargue pdf Instrucciones de instalación, uso y mantenimiento para Horno Alto-Shaam 1000-TH-I/STD/D. Alto-Shaam 1000-TH-I/STD/D 16 páginas. Low temperature oven cook hold

T h e s e i n s t r u c t i o n s a r e b a s i c o p e r a t i o n a l g u i d e l i n e s o n l y . F o r c o m p l e t e i n s t r u c t i o n s , s e e t h e
INDICATOR LIGHTS
LOWER OVEN
HOLD COOK
LOWER OVEN
ELEMENT
OFF
HOLD TEMP
UPPER OVEN
U P P E R C O O K I N G C O M P A R T M E N T
1. Turn upper oven POWER SWITCH "ON."
— Upper oven POWER "ON" INDICATOR LIGHT
will illuminate and will remain lit as long as the
upper oven Power Switch is in the "ON" position.
2. Set the upper oven HOLD THERMOSTAT to the
required holding temperature.
— Upper oven HOLDING INDICATOR LIGHT will
illuminate as the Hold Thermostat calls for heat.
This process will continue as long as the upper
oven Power Switch and Hold Thermostat are in
the "ON" position.
3. Set upper oven COOK THERMOSTAT to the
required cooking temperature
4. To preheat the upper oven, activate the Cook
Thermostat by turning the upper oven COOKING
TIMER clockwise.
— Upper oven COOKING INDICATOR LIGHT and
HOLDING INDICATOR LIGHT will illuminate as
the Cook Thermostat calls for heat. This process
will continue until the upper oven Cooking Timer
cycles or is turned to the "OFF" position.
O P E R AT I O N
C o o k i n g G u i d e l i n e s B o o k l e t p a c k e d w i t h t h e o v e n .
POWER ON LIGHT
UPPER OVEN
COOK TIMER
LOWER OVEN
OFF
12
1
11
2
ON
10
3
OFF
9
4
LOWER OVEN
8
5
7
6
TURN PAST TIME DESIRED
THEN SET TIME
POWER ON LIGHT
LOWER OVEN
OFF
HOLD TEMP
LOWER OVEN
# 8 3 7 A O & C M A N U A L • 1 0 0 0 - T H - I F A M I L Y
®
COOK TIMER
UPPER OVEN
OFF
12
1
11
UPPER OVEN
ON
10
OFF
9
8
5
7
6
TURN PAST TIME DESIRED
THEN SET TIME
OFF
COOK TEMP
LOWER OVEN
L O W E R C O O K I N G C O M P A R T M E N T
1. Turn lower oven POWER SWITCH "ON."
— Lower oven POWER "ON" INDICATOR LIGHT
will illuminate and will remain lit as long as the
lower oven Power Switch is in the "ON" position.
2. The lower oven HOLD THERMOSTAT is located on
the lower control panel. Set the lower oven HOLD
THERMOSTAT to the required holding temperature.
— Lower oven HOLDING INDICATOR LIGHT will
illuminate as the Hold Thermostat calls for heat.
This process will continue as long as the lower
oven Power Switch and Hold Thermostat are in
the "ON" position.
3. The lower oven COOK THERMOSTAT is located on
the lower control panel. Set the lower oven COOK
THERMOSTAT to the required cooking temperature.
4. To preheat the lower oven, activate the Cook
Thermostat by turning the lower oven COOKING
TIMER clockwise.
— Lower oven COOKING INDICATOR LIGHT and
HOLDING INDICATOR LIGHT will illuminate as
the lower oven Cook Thermostat calls for heat.
This process will continue until the lower oven
Cooking Timer cycles or is turned to the "OFF"
position.
P G . 3
INDICATOR LIGHTS
UPPER OVEN
HOLD COOK
UPPER OVEN
ELEMENT
OFF
2
3
4
COOK TEMP
UPPER OVEN
