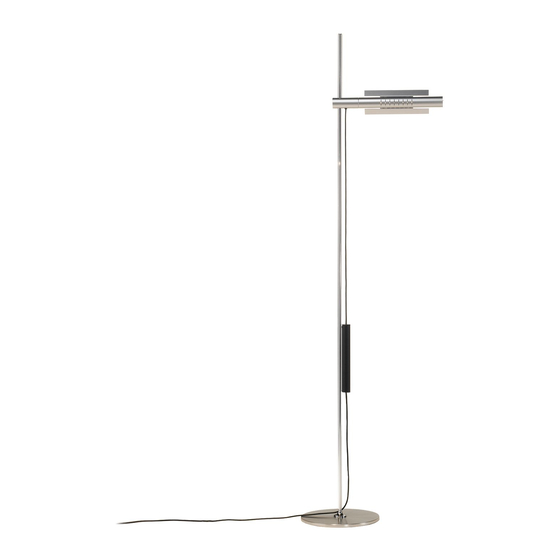
BALTENSWEILER HALO LED S Instrucciones de montaje y funcionamiento - Página 15
Navegue en línea o descargue pdf Instrucciones de montaje y funcionamiento para Linterna BALTENSWEILER HALO LED S. BALTENSWEILER HALO LED S 16 páginas.
También para BALTENSWEILER HALO LED S: Instrucciones de montaje y funcionamiento (5 páginas)

Operating instructions
EN
Programming luminaire:
3
(Only a HALO LED that has been manufactured after April 2021 can be programmed. The following set-
tings cannot be programmed with the HALO LED CASAMBI version.)
Function change Dimming:
Stepless dimming − Step dimming (7 brightness levels)
Switch on luminaire on and set to maximum brightness.
1.
Switch off luminaire off with the master switch on the underside of the
2.
the control gear box.
Keep the upper button pressed and switch the master switch on the
3.
underside.
The luminaire does not light up straight away, but it flashes twice after
4.
approx. 4–5 seconds to confirm the change of settings.
You can now release the button and the luminaire has been reprogram-
5.
med.
Repeat the procedure to reset the luminaire to its previous function
6.
(sections 1–5).
We recommend continuous dimming to allow individual dimming.
If several luminaires have to be set to exactly the same brightness, on
the other hand, we recommend dimming in stages with 7 brightness
levels.
Function change upper button:
On-Off-Dim − Dim only
1.
Switch on luminaire and set to minimum brightness.
2.
Switch off luminaire with the master switch on the underside of the
control gear box.
3.
Keep the upper button pressed and switch the master switch on the
underside.
4.
The luminaire does not light up straight away, but it flashes twice after
approx. 4–5 seconds to confirm the change of settings.
5.
You can now release the button and the luminaire has been reprogram-
med.
6.
Repeat the procedure to reset the luminaire to its previous function
(sections 1–5).
We recommend activating the "dim only" function in this case. After
that the luminaire is always disconnected when not in use.
This helps to conserve electricity (no power consumption in the stand-by
mode) and spares the environment.
The last brightness value will be saved if the luminaire is switched off by a switched socket, the master
switch or the upper button (memory function). When the luminaire is switched on, it dims the light to
the last set value.
Upper button
Main switch
13
