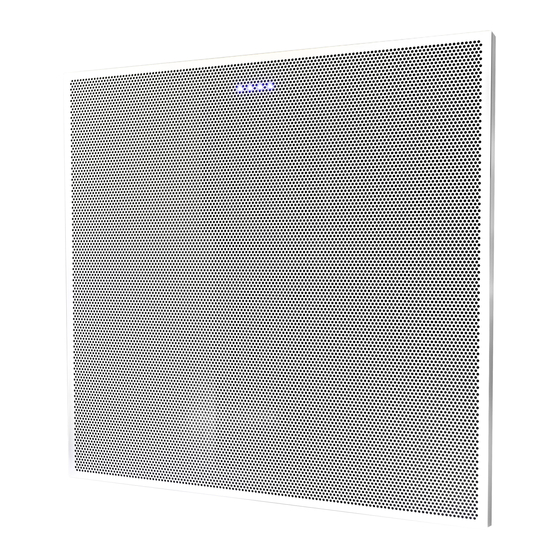
ClearOne BMA 360 Manual de inicio rápido - Página 4
Navegue en línea o descargue pdf Manual de inicio rápido para Sistema de micrófono ClearOne BMA 360. ClearOne BMA 360 5 páginas.
También para ClearOne BMA 360: Manual de inicio rápido (9 páginas), Manual de instalación (2 páginas)

BMA 360
Mount the BMA 360
Mount Options
Dropped (suspended) ceiling
•
Hard ceiling, both recessed and surface
•
VESA
•
This quick-start guide provides instructions to mount the BMA 360 to a dropped ceiling. Information for optional
mounting is available at ClearOne's Resource Library.
Connect Speakers
A good time to connect external speakers is before you mount the BMA 360 in the ceiling.
With speaker wire (not included), connect external speakers to the Phoenix Euroblock connectors.
Dropped Ceiling Mount
ClearOne recommends the use of 1/8 inch seismic cables (not included) as described here. To install the plenum shield,
complete steps 1 & 2. If you do not plan to install the shield, start at step 3.
1. Cut four 1-inch slots in the shield at the indicated locations.
2. Remove the liner from the adhesive in four places on the underside of
the shield, then thread the cables through the cut slots.
3. Attach the cables to the BMA 360 at four points as shown.
4. Lift the BMA 360 into place and attach the cables to structure.
4
Note 1: International Version
(Part No. 910-3200-208-I)
P-Link input port is shown in
the drawings. US Version (Part
No. 910-3200-208-U) P-Link
input is accessed through a
permanently connected CAT 6
pigtail cable that is terminated
with an RJ-45 receptacle.
Quick-Start Guide
QSG-0086-001v1.1 March 2021
