ClearOne WS880 Manual de inicio rápido - Página 2
Navegue en línea o descargue pdf Manual de inicio rápido para Sistema de micrófono ClearOne WS880. ClearOne WS880 15 páginas.
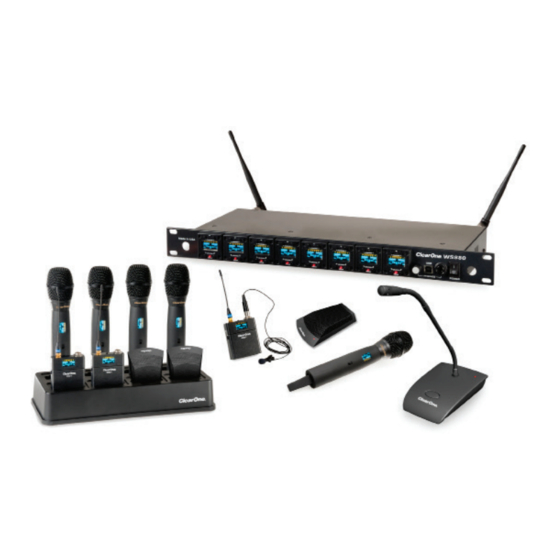
Setting Up ClearOne WS8000 Wireless Systems for Optimal Performance
Open the Cartons: Confirm everything on the packing slip is enclosed.
1. Set up the Docking Station: ClearOne transmitters are shipped with
rechargeable batteries. Plug in the charging dock, put the batteries in
the transmitters, then place the transmitters in the dock while you set
up the rest of the system. For new NiMH batteries, it is necessary to
cycle them three to five times before they reach peak performance.
2. Mount the Receivers in the Rack and connect them to power.
Confirm the displays light up.
3. Antennas:
A. Place the extension antennas according to the guidelines
mentioned in the Antenna Applications Guide.
Improper antenna placement is the main cause of poor RF
performance.
B. Dipole Antennas: Dipole antennas mounted to the rack
equipment should not be locked away in a closet / rack
cabinet. This results in poor RF performance because there
is no line of sight between the transmitter and receiver antenna.
Therefore, remote extension antennas are preferred.
See the Antenna Application Guide for details.
4. Connect the Extension Antennas: The receiver
that connects to the extension antennas is the
primary receiver. Daisy chained receivers will
become replica receivers. Terminators are used
on the last system in the daisy-chain. Up to (4)
8-channel receivers can be daisy chained to form
a 32 channel system. Use ClearOne Remote's
Antenna Setup Wizard, which opens automatically
the first time you connect. You can also find the
wizard under the SETTINGS tab of the main page
if connecting ClearOne active extension antennas,
make sure the red LED lights up. If not, check the
receiver's antenna phantom power setting using
the ClearOne Remote Control Software.
5.
Connect the analog outputs to the mixer:
The system is shipped with Euroblock connectors. For XLR output SKU's, there will be Euroblock-to-XLR
adapters included, instead of built-in XLR outputs. The default output level is set to 0 dBu.
Note that factory default for the front panel headphone jack is set for mixed line-level out.
Use ClearOne Remote>Settings>Headphone, to reset for headphones.
CAUTION! Turn off phantom power from the mixer.
Phantom power distorts the audio quality of your microphones.
6.
System Test: In most cases, the system is now ready to use. Confirm all channels pass audio perfectly.
2