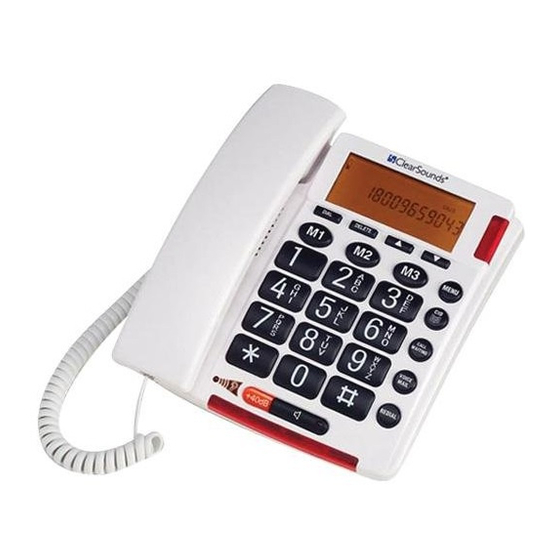
ClearSounds TALK500 ER Manual del usuario - Página 6
Navegue en línea o descargue pdf Manual del usuario para Teléfono ClearSounds TALK500 ER. ClearSounds TALK500 ER 17 páginas. Talking telephone featuring ultraclear sound shaping technology
También para ClearSounds TALK500 ER: Características (1 páginas), Especificaciones (1 páginas)

keyhole slot on the underside phone's base. Then press down and slide the
bracket upward until the tabs snap into place.
4. Plug one end of the telephone line cord into the TEL. LINE jack at the back
of the base.
5. Plug the cord's other end into the wall plate jack, then align the base's
keyhole slots with the screws and slide the phone downward to secure it.
Setting The Contrast
1. Press the MENU button. The display shows LCD CONTRAST.
2. Press the DIAL button. The display shows the current contrast setting with
values between 1 and 5.
3. Press
or
4. The display now shows to ENTER TIME/DATE, you can refer to next section
to set the time and date or press
Note: You can select the desired LCD function by pressing the number key. For
example: You can press MENU button, then press 5 digit, NAME RECORDING
will show.
Setting The TIME And DATE
1. Press and release the MENU button until ENTER TIME/DATE is shown.
2. Press the DIAL button. The display shows ENTER TIME and the hours
digits is flashing.
3. Select the current hour using the
minutes will now flash in the display.
4. Select the required minutes using the
The display now shows ENTER DATE and the month digit is flashing.
5. Select the current month using the
The day will now flash in the display.
6. Select the current day using the
7. Exit the set-up mode using the
Setting The Language
1. Press and release the MENU button until LANGUAGE is shown.
2. Press the DIAL button.
3. Select the current language (ENGLISH, ITALIANO, FRANCAIS and
ESPANOL) using the
4. Press
button to exit the set-up mode.
SETTING UP
to select the contrast level and confirm with DIAL button.
or
and confirm with DIAL button.
button to exit the set-up mode.
and confirm with DIAL button. The
or
and confirm with DIAL button.
or
and confirm with DIAL button.
or
and confirm with DIAL button.
or
button.
6 – ENGLISH
