Clemas & Co HYDROMIST LITE Manual del usuario - Página 4
Navegue en línea o descargue pdf Manual del usuario para Aspiradora Clemas & Co HYDROMIST LITE. Clemas & Co HYDROMIST LITE 7 páginas.
También para Clemas & Co HYDROMIST LITE: Manual (4 páginas)
1.4 Electrical connection
• Before connecting the machine to the power
supply, check that your supply voltage
corresponds with that marked on the rating
label on the rear of the machine.
UK only
• The supply cord is fitted with a non rewireable
plug containing a 13 amp fuse. Should the
fuse require replacement it must only be
replaced by a 13 amp fuse conforming to
BS1362, and the fuse cover must be refitted.
If the fuse cover is lost the plug must not be
used until the correct replacement cover is
fitted.
• IMPORTANT - If the supply cord is damaged,
it must only be replaced by a special cord
available from
the manufacturer or an
authorised service agent.
Should an extension cord be used, ensure cord
rating is adequate for the equipment. Do not use
extension cord in coiled condition as this could
result in overheating of the cord.
2
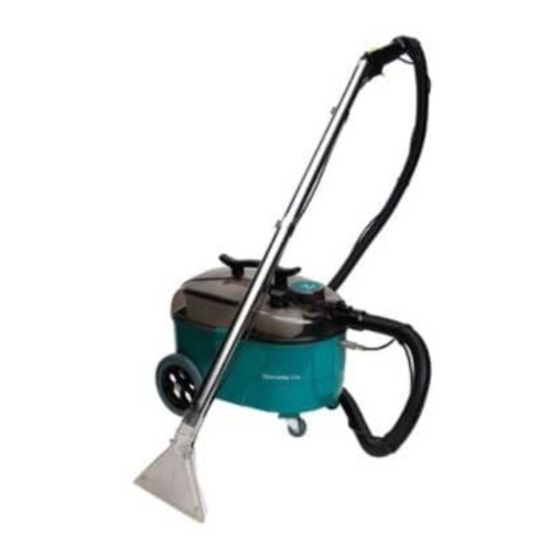
Controls
Œ
•
•
Ž
5
Solution
pump switch
6
Vacuum
switch
7
Machine
cover
"
•
3 Preparing for use
• Make sure both tanks are clean before use.
1
Hose release
catch
2
Vacuum hose
inlet
3
Solution outlet
4
Anti-foam tank
'
'
•
"
8
Removable
solution tank
9
Removable
recovery tank
10 Filters
• Connect the flexible vacuum hose onto the
vacuum hose inlet and the high pressure
spray hose onto the solution outlet. (fig. 1)
Fig 1
• Connect the vacuum hose and the high
pressure spray hose to the carpet cleaning
wand or the upholstery tool.
• Fill the clean water tank with detergent and
water. Take care to use correct dilution rate
for the detergent. Never over fill.
• Fill the anti-foam tank with an appropriate de-
foamer solution.
• Important – Always use low foaming carpet
cleaning chemicals. If using foaming carpet
cleaning chemical, or if foam develops due to
residues in the carpet, ensure that an
appropriate de-foamer is used in the anti-foam
tank.
Incorrect chemicals could cause damage to
the carpets being cleaned or cause the
machine to malfunction.
4 Operation
4.1 Starting the machine
• Connect the cable to mains power.
• Ensure the slider on top of the trigger unit is in
the closed position.
• Switch on the unit spray or/and vacuum.
• Squeeze the trigger to spray solution onto the
carpet/upholstery.
• Maintain a constant pressure of the wand/tool
onto the surface to be cleaned in a backwards
movement only. (fig. 2).
Fig 2
4.2 Using the machine
• To more thoroughly dry the surface being
cleaned, complete the cleaning with a second
pass with the vacuum (and no spray).
• Never soak the textile being cleaned while
spraying.
4
Spray