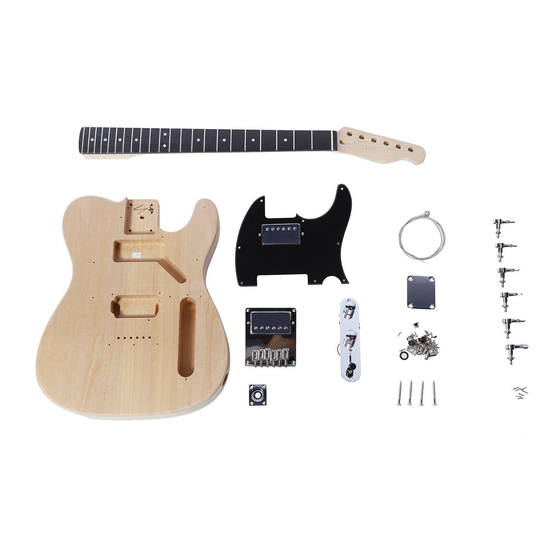
Artist Guitars TL DIY KIT Manual - Página 12
Navegue en línea o descargue pdf Manual para Instrumentos musicales Artist Guitars TL DIY KIT. Artist Guitars TL DIY KIT 14 páginas.

TL DIY KIT MANUAL
Ensure that the string sits smoothly on its saddle and the hole , keeping taut
whilst winding a couple of turns on the relevant tuner. Thread through the
string post and bend the string back on itself to anchor it in place. Apply a
little tension from the tuner and move on to the next string. Repeat the above
process for all six strings.
Bringing all the strings up to pitch gradually is better achieved with a digital
guitar tuner or pitch pipes as a reference.
Please be aware that the tension in the strings may take some time to settle
and re-tuning a few times might be necessary. Stretching each string gently
after reaching the pitch will help to take up slack.
The neck is fitted with a truss rod which may need adjusting. When the
strings are tuned up, they will try to pull away from the neck, which may
mean that the action becomes too high. If this happens, use the larger of the
two hex keys provided to gradually tighten the truss rod – a half turn is
usually enough and may not take effect immediately – allow the adjust-
ments to settle each time – do not be tempted to over-tighten the truss rod.
Sighting along the neck should show a very slight concave tendency which
is called "relief" and too straight a neck may lead to "fret buzzing". Some
strings may need to be raised or lowered individually to give the correct
action and this can be adjusted using the smaller of the two hex keys
provided.
For the last step screw the truss-rod cover.
12
