Blue Pop Manual del usuario - Página 3
Navegue en línea o descargue pdf Manual del usuario para Micrófono Blue Pop. Blue Pop 4 páginas. Phantom powered ribbon microphone

Polar & Frequency Response Charts
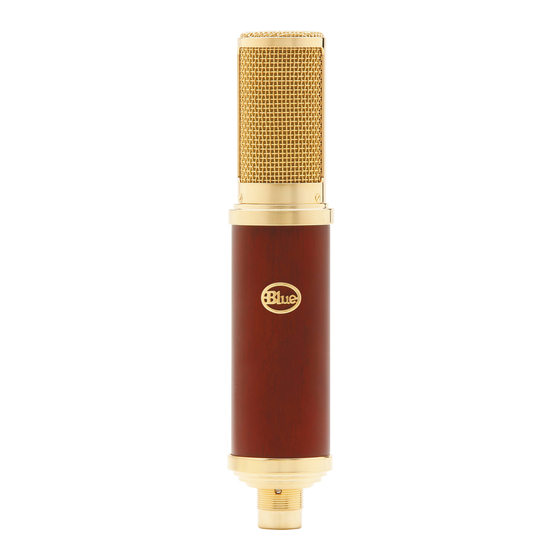
The Woodpecker requires 48 volt phantom power, which is standard
with most mic preamps, mixing consoles, or separate phantom power
supplies. It is important to note that some units, though rated at 48 volts,
may supply insufficient or unstable phantom power, which can result in
distortion and/or degraded performance when used with the Woodpecker.
To avoid damage to audio components when connecting phantom power,
follow this simple procedure: 1) Turn down the mic preamp gain, head-
phones, and your studio monitors; 2) Connect microphone cable to the
Woodpecker and microphone input jack; 3) Turn on phantom power; 4)
Turn up the mic preamp gain, etc. To disconnect or re-route the
Woodpecker: 1) Turn down the mic preamp gain, headphones, and your
studio monitors; 2) Turn off phantom power and wait ten seconds before
disconnecting the mic.
As a pressure-gradient ribbon microphone, the Woodpecker exhibits a
bidirectional, or "figure-8" polar pattern. This means that the
Woodpecker will respond equally to on-axis sounds arriving at either the
front or rear of the mic with nearly 100% rejection of sounds arriving at
either "null point" (90° off-axis).
As with any microphone, we recommend experimenting with placement
in front of the various sound sources you wish to record. Chances are, if
the mic sounds good to your ears, it'll sound good to everyone else's,
but we certainly encourage trying out different placement scenarios in
order to achieve that "perfect" sound. Below are some of the recording
tips that we've found useful over our many years of studio experience.
These frequency charts are only a
beginning. It gives the recordist a
basis of the sound provided. How the
microphone reacts in a particular
application will differ greatly because
of many variables. Room acoustics,
distance from sound source (prox-
imity), tuning of the instrument and
mic cabling are only a few of the
interacting issues. For an artist or an
engineer, how the microphones are
used creates the basis of the sound.
Vocals
Here's a little-known secret — vocalists love singing into unique and
impressive mics. And in addition to its good looks, the
Woodpecker was developed especially to enhance the
midrange and detail in any voice, while enhancing the
proximity-induced lows. The Woodpecker is also an out-
standing choice for narration and voiceover work. When
recording vocals, always use a pop filter like the Blue's The Pop to min-
imize plosive sounds and to protect the ribbon from moisture.
Acoustic Guitar
Ribbon mics require careful placement when used on acoustic guitar,
but the detail and superb response of the Woodpecker are well-suited to
this job. For a balanced sound with a little extra high end,
position the microphone facing the neck, right where it
joins the body (usually around the 12th — 14th frets). For
starters, keep the mic as close as possible, and tilt the
grille toward the soundhole to capture a blend of low end
and pick sound. If you need more lows, move the microphone closer to
the soundhole. For more high end detail, move the Woodpecker farther
from the guitar, either at the same neck position or above the instru-
ment up by the guitarist's head.
Electric Guitar
The Woodpecker is an excellent mic for any clean amp sound, ranging
from bright rhythm chords to warm jazzy tones. Rotate
the grille toward the center of the speaker to capture
more highs, or turn the capsule toward the edge of the
cone for a fuller sound with more low end. For overdriven
or distorted tones, move the mic towards the outer edge
of the cone, or back it away from the amp a foot or more to add a little
room sound and soften the extreme high end.
Drums
For kit and hand drums, begin by placing the microphone two to four
inches above the rim or hoop (where the head is secured
to the shell). Angle the capsule toward the player's stick
or hand to pick up more attack and definition. Turning the
capsule toward the shell will soften the sharp attack of a
hand drum, or pick up more of the bright, crackling buzz
from a snare. Moving the microphone closer to a drum generally
increases the low end, shell resonance and separation from other sound
sources, while more distant placement emphasizes the interaction of
the drum and the environment, producing a blended, airier sound.
