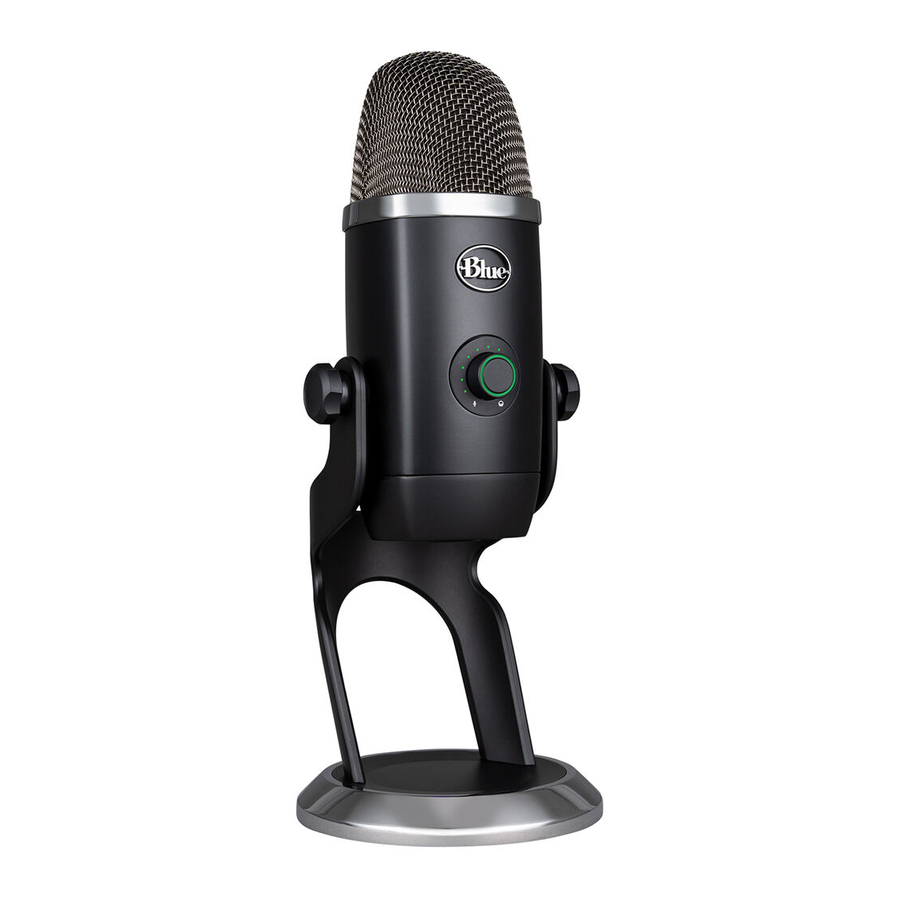
Blue Yeti X Manual de inicio rápido - Página 2
Navegue en línea o descargue pdf Manual de inicio rápido para Micrófono Blue Yeti X. Blue Yeti X 10 páginas. Premium usb mic for recording and streaming

Yeti X is a plug 'n play device, with minimal setup and no drivers
required. Here's how to get Yeti X up and running for the first time:
1. Connect Yeti X to your computer with the included USB cable. Insert the
smaller USB Micro B connector into the port on the underside of the mic, then
plug the larger USB-A connector into any USB port on your computer. Yeti X will
power on automatically.
2. Plug your headphones into the headphone jack on the underside of the
mic. If you don't hear anything right away, make sure the microphone isn't
muted, and that the microphone gain and headphone volume are turned
up. The Blend control should be centered to make sure both mic input and
playback are audible. (see the "Multi-Function Smart Knob and LED Metering"
section for how to do this).
3. Set Yeti X as your default audio device. Go into the audio settings in
Windows, Mac OS, Twitch, Skype, Discord or any other programs you use, and
select Yeti X as the default input and output device.
4. Adjust the settings to your liking, and off you go! By default, Yeti X is set
to cardioid mode, with the smart knob controlling microphone gain. See the
Multi-Function Smart Knob, Pickup Patterns and Blue VO!CE sections to learn
how to fine-tune Yeti X's sound.
2
QUICK TIP
Yeti X is a side-address microphone,
which means that you should speak
into the front of the mic (the side with
the Blue logo), and not the top of the
mic. See the Pickup Patterns section
for more information on proper mic
placement.
