3M P-ATC9K Manual de instrucciones - Página 2
Navegue en línea o descargue pdf Manual de instrucciones para Proyector 3M P-ATC9K. 3M P-ATC9K 9 páginas. 3m overhead projector operating instructions model no. 1700

INTENDED USE
Before operating the machine, please read the entire manual
thoroughly. The 3M™ Overhead Projector 1700 was
designed, built and tested for use indoors, using 3M brand
lamps and nominal local voltages.
IMPORTANT SAFEGUARDS
When using your overhead projection equipment, basic
safety precautions should always be followed, including
the following:
1. Read and understand all instructions before using.
Pay particular attention to areas where this symbol
is shown.
!
2. Close supervision is necessary when any appliance
is used by or near children. Do not leave appliance
unattended while in use.
3.
Care must be taken as burns can occur from
!
touching hot parts.
4. Do not operate appliance with a damaged cord or if
the appliance has been dropped or damaged until it
has been examined by a qualified service
technician.
5.
Position the cord so that it will not be tripped over,
!
pulled, or contact hot surfaces.
6. If an extension cord is necessary, a cord with a
current rating at least equal to that of the appliance
should be used. Cords rated for less amperage
than the appliance may overheat.
7. Always unplug appliance from electrical outlet
before cleaning and servicing and when not in use.
Never yank cord to pull plug from outlet. Grasp plug
and pull to disconnect.
THANK YOU
Thank you for choosing 3M overhead projection equipment.
This product has been produced in accordance with 3M's
highest quality and safety standards to ensure a smooth and
troublefree use in the years to come. Your purchase of this
product proves that you appreciate this.
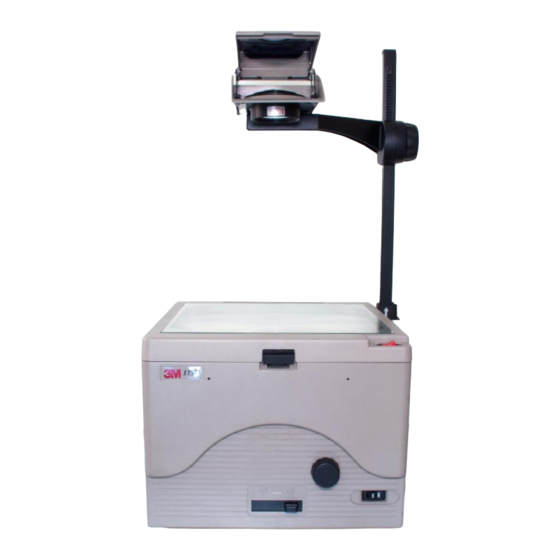
Part Identification List
1.
Open Projection Head
2.
Projection Mirror
3.
Singlet Lens (1705, 1708)Triplet Lens (1720, 1750)
4.
Arm
5.
Focus Knob
6.
Post
7.
Post Latch
8.
Post Cradle
9.
On/Off Power Switch
10. High/Low Brightness Switch (1708, 1720, 1750)
11. Color Tuning Knob (1708, 1720, 1750)
12. Lamp Changer (1708, 1720, 1750)
13. Top Cover Release Latch (with interlock)
14. Top Cover Stage Glass
15. Cord Storage
16. Power Cord
3M 1700 Operator's Guide
The use of other replacement lamps, outdoor operation or
different voltages has not been tested, and could damage the
projector or peripheral equipment and/or create a potentially
unsafe operating condition.
8.
Let appliance cool completely before putting away
!
or when replacing lamp.
9.
To reduce the risk of electric shock, do not
immerse this appliance in water or other liquids.
10. To reduce the risk of electric shock, do not
disassemble this appliance, but take it to a
qualified technician when service or repair work is
required. Incorrect reassembling can cause electric
shock when the appliance is used subsequently.
11. The use of an accessory attachment not
recommended by the manufacturer may cause a
risk of fire, electric shock, or injury to persons.
12. Do not overload accessory circuit (if equipped).
13. Connect this appliance to a grounded outlet.
14. Disconnect this unit from its source of supply
before replacing the projection lamp.
15. This unit is equipped with optical lenses and
!
should not be exposed to direct sunlight.
16. Keep ventilation openings free of any obstructions.
17. This unit is connected by a special power cord that,
if damaged, has to be replaced by the same type
of power cord. This part can be ordered from your
local 3M dealer and has to be installed by a
qualified service technician.
SAVE THESE INSTRUCTIONS
The information contained in this manual will help you
operate and maintain your Overhead Projector.
For optimum performance we kindly ask you to follow these
operating instructions carefully. We hope you will enjoy using
this high performance product in your meeting, training and
presentation sessions.
17. Machine Identification Plate
1
