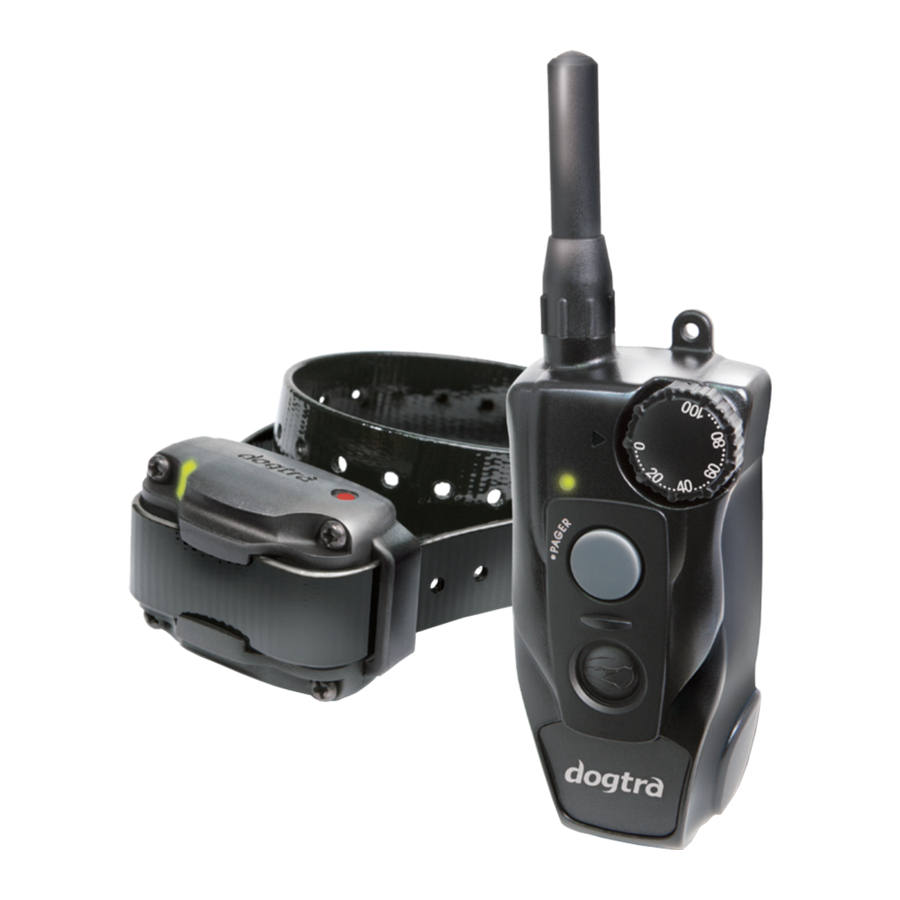
Dogtra 200C Manual del usuario - Página 7
Navegue en línea o descargue pdf Manual del usuario para Producto para el cuidado de mascotas Dogtra 200C. Dogtra 200C 14 páginas.
También para Dogtra 200C: Manual de configuración de códigos (2 páginas)

- 1. Table of Contents
- 1. 1 Turning the 200C On/Off
- 2. At a Glance
- 2. 2 Transmitter Button Function
- 2. Understanding Your Training System
- 3. Main Features
- 3. 3 Collar Fitting
- 4. 4 Finding the Right Stimulation
- 4. Maximizing the Distance
- 5. 6 Led Indicator
- 5. General Training Tips
- 5. Maintenance
- 5. Troubleshooting Guide
- 6. 7 Charging the Battery
202C
The 202C two-dog unit has four buttons and a toggle
switch on the transmitter (two on the face of the
transmitter and two on the left side).
1st Dog Nick/
Constant
(Gray Button)
2nd Dog Nick/
Constant
(Orange Button)
Nick & Constant Toggle Switch
Located on the face of the transmitter is a toggle switch.
The toggle switch has a setting for Nick and another for
Constant. The color-coordinated buttons (orange for the
orange receiver/collar and gray for the black receiver/
collar) will implement the desired stimulation based on
the toggle switch setting.
When either the orange or gray stimulation button is
pressed and the toggle is set on Nick, the receiver emits a
single pulse of electrical stimulation.
When you press either the orange or gray stimulation
button and the toggle is set on Constant, the receiver
emits a continuous stimulation as long as the button is
pushed, for up to 12 seconds to the corresponding collar. If
the button is not released after 12 seconds, the stimulation
will automatically turn off as a safety feature. The collar
will be ready to be reactivated once the button has been
released.
12
Nick/Constant
Toggle Switch
1st Dog Pager
(Gray Button)
2nd Dog Pager
(Orange Button)
Pager Button
The Pager buttons are located on the face of the
transmitter. The orange button corresponds with the
orange receiver/collar and the gray with the black
receiver/collar. Pressing it will give Constant, vibration as
long as the button is depressed, for up to 12 seconds.
3. Collar Fitting
Proper Fit
The collar should be fitted so that the surgical stainless
steel contact points press firmly against the dog's skin.
You should be able to fit a finger in between the contact
point and your dog's skin. The best location is on either
side of the dog's windpipe.
Improper Fit
A loose fit can allow the collar to move around on the
dog's neck. When this happens, the contact points may
rub against the skin and cause irritation. If the collar is
too loose, the contact will not be consistent and cause
the corrections to be inconsistent. Dogtra uses surgical
stainless steel contact points and anti-microbial plastic to
protect the dog's skin.
13
