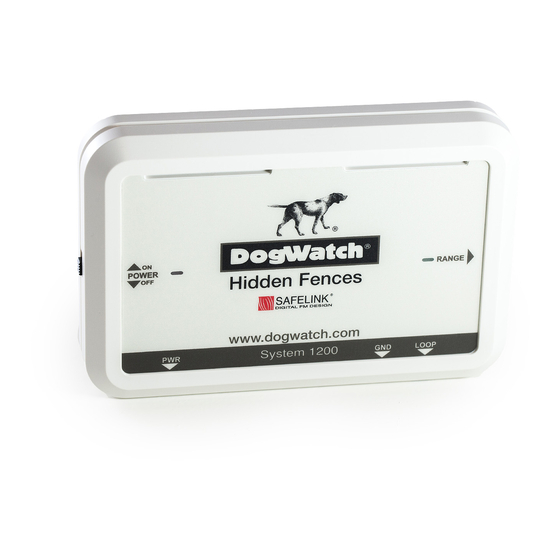
DogWatch System 1200 Manual de instalación - Página 4
Navegue en línea o descargue pdf Manual de instalación para Producto para el cuidado de mascotas DogWatch System 1200. DogWatch System 1200 10 páginas. System
También para DogWatch System 1200: Manual de instrucciones (16 páginas), Manual del usuario (12 páginas), Manual de instrucciones (9 páginas)

Use an angle grinder or disc cutter to cut a slot approx ½" deep and insert the cable into the slot.
Make sure the cut is wide enough to comfortably house your
clear silicone or driveway sealant.
Block Pavers: You may lift a row of pavers and place the cable underneath or you may scrape out
the moss from the joints and weave the cable in and out of the joints, pushing the cable in with a
bolster or similar object.
Water
Your cable can be safely installed in water (streams or ponds) but we advise not to create a join in
water and to weight your cable to the stream bed to ensure that the cable is kept in place.
Joining the cable
You have been supplied with connectors for your cable – never join the cable with tape – this will
allow moisture to enter underneath the PVC outer coating and will damage your cable. Also taped
joints are not an effective means of connection and can lead to a high resistance in the cable which
cause lack of signal range. Instructions for using the connectors are included in the installation
instructions.
INSTALLATION INSTRUCTIONS
PLEASE USE THESE INSTRUCTIONS IN CONJUNCTION WITH THE ONLINE DVD
1. Locate the transmitter in an area that is protected from weather i.e. garage, utility room, shed.
2. It must be close to a 240 volt electrical socket.
3. Position the transmitter so that a hole drilled to outside will not be noticeable.
4. BEFORE STARTING: turn the transmitter over and check that all the switches are in the up
position. (If any of the switches are in the down position return them to the up position, plug the
transmitter into the power socket and turn the power on and off. This will reset the transmitter to
the correct setting).
5. Using the mounting screws provided install the transmitter to fit snugly on the wall.
6. Drill a hole through the outside wall and feed the zip wire and green ground wire through the
wall.
7. Install the surge protector outside.
8. Plug the zip wire into the transmitter. NOTE ON YOUR DVD THIS IS BLACK BUT THIS WIRE
HAS NOW CHANGED TO WHITE & BLACK – IT IS THE SAME WIRE
9. Plug the power supply into the transmitter.
10. Plug the green ground wire into the transmitter.
wire.
Seal the slot with a coloured or
