closomat Palma Vita Manual de instalación y uso - Página 6
Navegue en línea o descargue pdf Manual de instalación y uso para Aseos closomat Palma Vita. closomat Palma Vita 12 páginas.
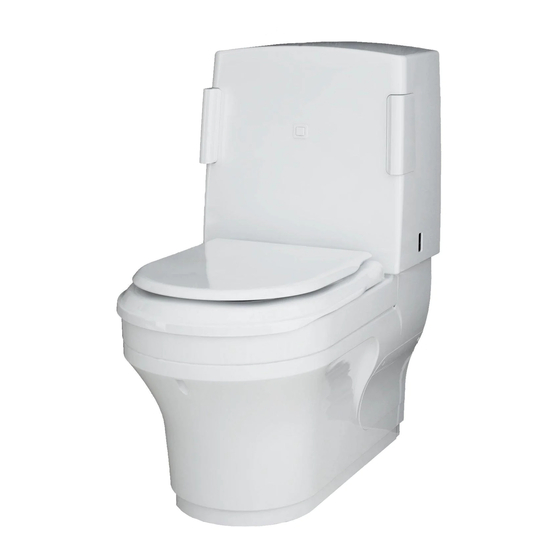
Installation (cont.)
10
Using the template provided proceed to set
the Closomat's position in the bathroom.
12
Locate your services, with the electrical isolation positioned outside
the confines of the toilet covers. Spur outlet to be located in
accordance with current I.E.E. Regulations (Current Edition). If supply
cord is damaged, it must be replaced by the manufacturer, its service
agent or similarly qualified persons in order to avoid a hazard.
14
Position the Closomat and place all four
anchor blocks in place.
17
Remove the skirt from inside the bowl
cover and insert skirt locators supplied
loose.
11
Drill four holes in the floor to best
suit the intended fixings to be used
for the application.
13
Cold water connection is via a 15mm connection pipe at the rear
of the unit. We recommend the supply pipe enter the unit through
the floor or through the wall. If side entry is necessary then a
suitable infill panel will be required. The provision of an isolation
valve is always recommended
15
Secure the Closomat to the floor using
all four fixing points, use suitable fixing for
the application. Adhesives are not allowed
to be used.
18
Place the lower skirt around the base of
the frame.
6
PLEASE NOTE
Two templates are provided:
One for floor installations
and
One for wall installations
.
16
Anchor the Closomat to the rear wall.
This fixing must be used to ensure stability,
which is imperative when support arms
are fitted.
19
Ensure the skirt locator is engaged to the
frame.