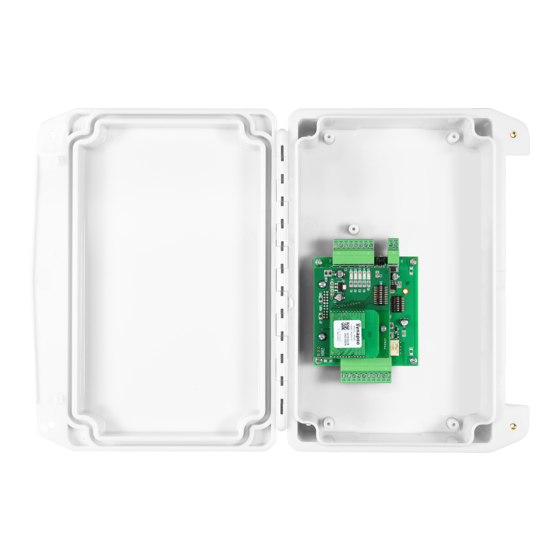
Cypress Suprex SPX-5641 Manual de inicio rápido
Navegue en línea o descargue pdf Manual de inicio rápido para Extensor Cypress Suprex SPX-5641. Cypress Suprex SPX-5641 2 páginas.

Suprex
RF Quick Start Guide for Models SPX-5631, SPX-5641
®
1. Check that all units & parts are included, and antennas are properly
connected:
☐ Central unit ☐ Remote unit ☐ 6 connectors (2 each: 2-pin, 8-pin, 10-pin)
☐ Warranty
2. Bench test. (Complete before field installation for easier troubleshooting).
a. Set up near control panel. Use spare reader. Place Central & Remote at least 24" apart.
b. Connect suitable power supply (8-16 Vdc @ 300 mA) to each unit.
c. After short delay, Status LED will pulse green on each unit (power/communication).
d. Touch jumper wire from Central's ground pin to Relay 1 input. Remote's Relay 1 activates with audible click.
Multimeter/continuity tester shows Remote's Relay 1 "normally open" contacts closing when Central's Relay 1
input is activated.
e. Select DIP Switch Settings as needed (see below).
f. Connect reader to Remote; connect Central to panel. Scan card to ensure proper read.
DIP Switch Settings
Default settings:
•
Standard Wiegand is the default Interface Type.
•
By default, units are configured & labeled as one Remote and one Central unit.
•
By default, Supervision relay and pullup resistors are disabled.
Configuration Mode: To select alternate interface, temporarily switch to Configuration Mode.
a) Power off both Suprex units.
b) Turn on DIP switch 1 on both units.
c) Set DIP switches as described below for appropriate interface:
d) Power on both Suprex units. Status LED should be solid green.
e) Power off both Suprex units. Turn off all DIP switches on both units, then reselect Run Mode settings.
Default: Standard Wiegand
Keypad (Wiegand/No Filter)
F/2F (Unsupervised)
Strobed Rising Edge (MR-5)
Strobe Rising Edge (Dorado
644)
Strobed Rising (MagTek)
Strobed Falling Edge
Run Mode: Select Run Mode settings as described below, then power on both Suprex units
to begin operating in Run Mode.
Relay 1 & 2 Outputs: Located on the Remote Unit / Triggered from the Central Unit.
Relay 3 & 4 Outputs: Located on the Central Unit / Triggered from the Remote Unit.
Central / Remote Select
Remote Digital/Analog Relay
Select
Supervision Relay
(Relay 3, Central Unit)
Supervision Relay
(Relay 1, Remote Unit)
Pullup Resistor Select
EXP Select (for no EXP)
EXP Select (for 1 EXP)
EXP Select (for 2-7 EXPs)
Turn on DIP switch 8 on both units
Turn on DIP switch 7 on both units
Turn on DIP switches 6, 7, 8 on both units
Turn on DIP switches 7 and 8 on both units
Turn on DIP switch 6 on both units
Turn on DIP switches 6 and 8 on both units
Turn on DIP switches 6 and 7 on both units
Relay locations
Turn DIP switch 3 on for Central Mode / turn off for Remote
Mode
Turn Remote Unit's DIP switch 2 on for digital input / off for
analog input
Turn Central Unit's DIP switch 4 on for supervision relay / off
for normal relay
Turn Remote Unit's DIP switch 4 on for supervision relay /
off for normal relay
Turn on DIP switch 5 to enable pullup resistors /
off to disable (applicable units)
Turn off DIP switches, 6, 7, and 8 on both units
Turn on DIP switch 8 on both units
See manual
