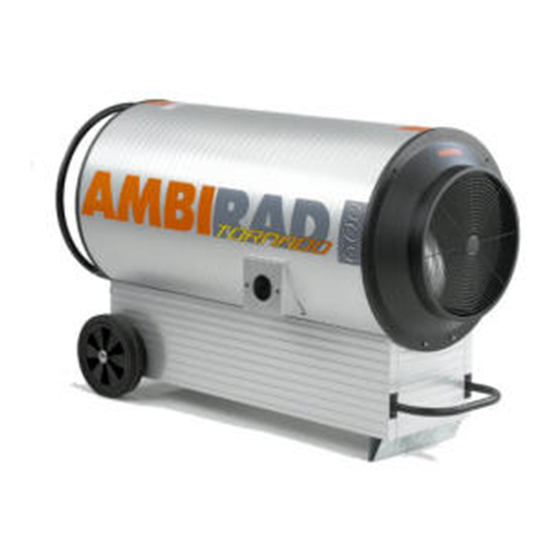
Ambirad Tornado 600 Manual de funcionamiento, mantenimiento y revisión - Página 5
Navegue en línea o descargue pdf Manual de funcionamiento, mantenimiento y revisión para Calentador Ambirad Tornado 600. Ambirad Tornado 600 15 páginas. Mobile radiant heater

Thermostat Control
The temperature of the building can be controlled using either the
local or optional remote thermostat.
Step 4
Local thermostat - set the rocker switch to the local stat position.
Step 5
Adjust the thermostat control to the desired temperature.
Step 6
Remote thermostat - set the rocker switch to the remote stat
position. (See Step 4). Plug the remote stat lead into the remote
stat socket. A remote thermostat kit is available from Ambi-Rad
by quoting part number 200587.
Step 7
Set the 3 position rocker switch to either the 110 or 230 volt
position
After switching on the mains supply, ignition is controlled by the
automatic ignition unit incorporated on the burner assembly.
Firstly, the combustion and convection fans will be heard running
then after a delay of 15-20 seconds the igniter will be heard to
spark. On ignition the amber light will illuminate. If ignition does
not occur then there is probably air in the gas line.
Re-ignition can be attempted by switching the switch on the rear
of the product from either ON-STAT or ON-NO STAT to OFF then
ON again. If ignition still does not occur consult section 7 Fault
Finding.
Step 8 Disconnection
Note Connecting and disconnecting cylinders MUST take place in a
flame free atmosphere. When the appliance is not going to be used
for a period of time the unit MUST be disconnected from the
electrical mains and gas cylinder.
When heating is complete, turn OFF the gas supply. Leave the
electric supply turned ON to enable the combustion fan to
operate for 10 minutes to cool the product prior to moving.
After cooling is complete, switch the 3 position rocker switch
(Step 7) on the rear of the product to the OFF position and
disconnect from the electric supply and remove the electrical
connector.
Disconnect the gas supply and recoil the hose around the rear
ring assembly and position the regulator in the clip provided.
Note If the appliance is not to be used for a period of time, ensure
that the appliance is stored in a dry environment.
3
