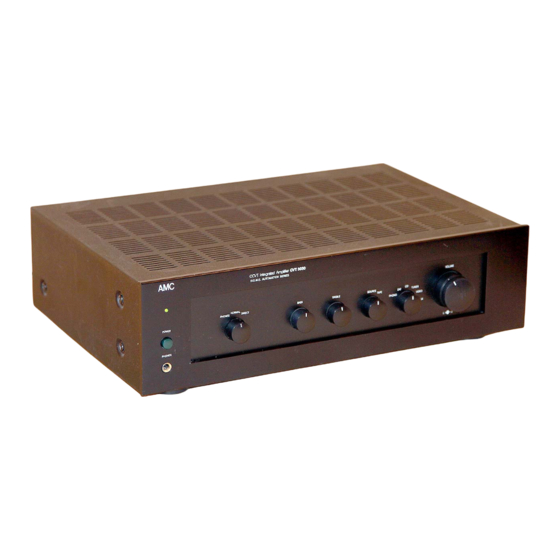
AMC CVT3030 Instructions pour l'installation et le manuel d'utilisation - Page 7
Parcourez en ligne ou téléchargez le pdf Instructions pour l'installation et le manuel d'utilisation pour {nom_de_la_catégorie} AMC CVT3030. AMC CVT3030 11 pages. Valve amplifier
Également pour AMC CVT3030 : Manuel d'entretien (16 pages)

level differences caused by the nature of the
input signal or due to room acoustics.
TONE CONTROLS
The tone controls on your AMC amplifier use low
colouration high overload margine (higher then
50V RMS.) circuitry to ensure the minimum
degradation of the music signal.
They are
designed to gradually modify the tonal emphasis
of the music and to compensate for such
problems as difficult room acoustics.
If required, the tone controls can
be
completely
by-passed with a resultant increase in sound
quality. To do this, simply turn the Direct/Phones
switch to the 'Direct' position.
With the Direct/Phones switch in the 'Normal'
position, the tone controls will cut their respective
frequencies when turned anti-clockwise and
boost them when turned clockwise. The flattest
response is found when
the
controls are in
the
'12 o'clock' position. (DETENTED POSmON)
PHONES
The headphone socket will accept any
headphones fitted with a standard quarter inch
(6.35mm) stereo jack plug. For private listening
via headphones, the Direct/Phones switch
should be set to 'Phones' , thus cutting the output
to your loudspeakers. In this position the tone
controls remain active. The mute feature is also
useful for situations where the output trom your
loudspeakers needs to be cut momentarily (eg
for a phone call etc).
-TAPE RECORDING
All sourees, Disc, CD, Tuner and Aux can be
-recorded via the tape connections. To record an
input, select the required source and set your
recorder to the record mode.
To record from one tape recorder to another, the
playback recorder should be plugged into the
Aux socket, and the racording machine into the
Tape socket. The input selector switch should
be set to ' Aux'. A recording can now be made
in the normal way.
6
PLAYBACK
Set the Tape Monitor switch to the 'Tape'
position and your recorder to the playback
mode.
CHECK LIST
Should you have any difficulty in operating your
amplifier, switch off and check the following
before suspecting that a fault has developed:
No power and LED not iIIuminated
1. Check that all mains supplies, connections
and fuses are good and that the power is
switched on.
Power on and LED iIIuminated but no output
1. Check that the amplifier is connected to the
desired input and that the correct input on the
amplifier is selected.
2. Check that
the
Ioudspeakers are connected
correctly to the power amplifier.
3. Check that the Direct/Phones switch is not set
to 'Phones'.
4.Check that the Tape Monitor switch is not set
to 'Tape'.
Power on and LED iIIuminated but output
from one speaker only
1. Check that the left and right channels of the
selected source are connected correctly and
that the input wiring is not faulty. If in doubt,
contact your dealer.
2. Check that one section of the volume control
is not set to minimum.
Loud hum heard through loudspeakers when
disc Is selected
1. Check that the ground lead from the turntable
(if fitted) is connected firmly to
the
ground
terminal on the rear of the amplifier.
2. Check that the amplifier is correctly earthed
via the mains lead.
3. Check that other transformers in the vicinity
are not radiating into your amplifier.
