aero-naut Scarlet Instructions de construction - Page 6
Parcourez en ligne ou téléchargez le pdf Instructions de construction pour {nom_de_la_catégorie} aero-naut Scarlet. aero-naut Scarlet 7 pages.

Allow the glue to set hard before fitting the spinner on the motor shaft. You may need to sand back
the front face of the fuselage slightly to obtain a perfect match with the diameter of the spinner.
Work slowly, checking constantly, and you will be rewarded with a perfect result.
Now screw the motor to the bulkhead and connect it to the speed controller, taking care to main-
tain correct polarity. It is best to check this before the motor is installed: drill a central hole in a
small piece of scrap wood and push it onto the motor shaft to help you check the direction of rota-
tion. Do not fit the propeller at this stage: injury hazard!
Assemble the folding propeller, hub and spinner as described in the instructions supplied with the
set.
The speed controller can be attached to the inside of the fuselage with hook-and-loop tape, or
installed below the battery plate. At the same time secure the wires between the speed controller
and the motor so that they cannot possibly come into contact with the motor. Do not pack the
speed controller in foam, as this could lead to overheating.
Fix the flight battery to the bottom of the fuselage, again using hook-and-loop tape.
Final stages
Set the correct Centre of Gravity (68 - 72 mm from the root leading edge) by adjusting the posi-
tion of the flight battery. This C.G. range is safe for the first few flights. You may wish sub-
sequently to fine-tune the model's balance to suit your personal preference - but not by more than
+/- 5 mm.
Fix the battery in the fuselage with hook-and-loop tape, and mark its final position so that you can
be confident of replacing it correctly for subsequent flights.
Check the control surface functions, and set the control surface travels as stated below:
Rudder, right turn:
Rudder, left turn:
Up-elevator:
Down-elevator:
Ailerons, right turn:
Ailerons, left turn:
Landing:
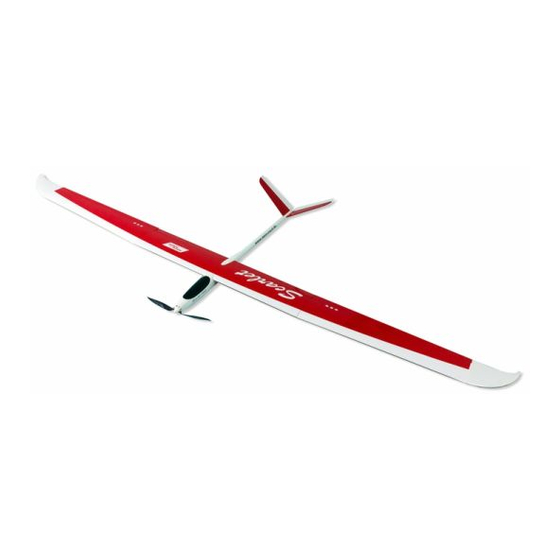
The final task is to apply the plotted stickers to the model, following the arrangement shown in the
kit-box illustration.
The first flight
Once you have completed all the checks, there is nothing to stop you carrying out the model's first
flight. If you have little or no experience in model flying, we urgently recommend that you join a
model flying club and ask a proficient model pilot to help you: he will carry out the initial test-flights
for you, and then help you to learn the art of model flying step by step.
It is also possible to learn to fly without outside help: first wait for a day with little or no breeze.
Launch the model with a firm push forward into any wind, keeping the wings and fuselage level.
Allow the aircraft to climb at a shallow angle, initially using the elevator only to adjust the rate of
climb; don't let the model slow up too much. If it turns to one side, gently move the rudder in the
opposite direction to return to straight flight.
Once the model is at a safe altitude, switch the motor off and allow it to glide. Use the controls
very gently at first until you feel familiar with the aeroplane's response to commands. Don't get
over-confident too quickly, and maintain plenty of height at all times - model flying is a sophis-
ticated skill which needs to be learned - just like driving a car or riding a bike.
Always land the model with its nose pointing directly into wind. Let it glide towards the ground at a
shallow angle, and don't apply up-elevator until it is just about to touch down. Never carry out any
major corrections with the rudder when the model is close to the ground!
Scarlet building instructions
left tail panel 20 mm up, right tail panel 17 mm down;
left tail panel 17 mm down, right tail panel 20 mm up;
both tail panels 20 mm up;
both tail panels 17 mm down;
right aileron 12 mm up, left aileron 8 mm down;
right aileron 8 mm down, left aileron 12 mm up;
both ailerons 15 mm up
both flaps 85 degrees down
5 mm down-elevator (both tail panels)
Scarlet
6
