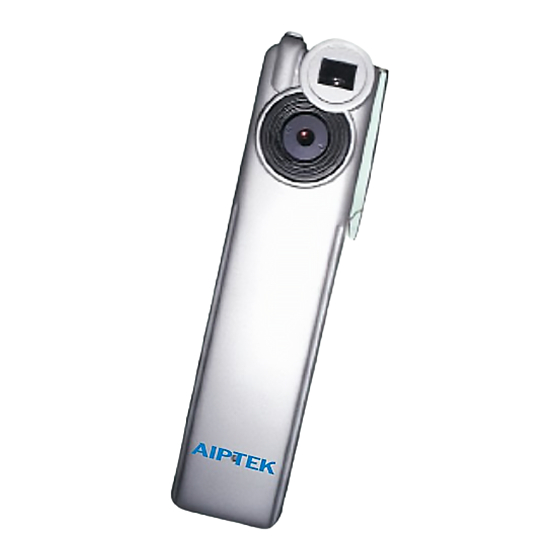
AIPTEK PENCAM VGA Manuel d'installation - Page 2
Parcourez en ligne ou téléchargez le pdf Manuel d'installation pour {nom_de_la_catégorie} AIPTEK PENCAM VGA. AIPTEK PENCAM VGA 6 pages.

ENGLISH
How to Use Your PenCam
The camera is capable of taking and storing 107 QVGA(320 x 240
Pixels) images or 26 VGA
images may be uploaded to a PC via the USB port.
The camera has two switches on it.
SW1 is the shutter switch.SW2 is the mode switch.
The LCD display is combined with SW2 to show the setting
information.
Installing Batteries
The PenCam is powered by 2 AAA batteries, or via the USB
connector when attached to a PC.
When the batteries are unloaded, all of your stored pictures
will be lost.
Switching the camera on
Pressing the SW2 when the LCD is blank will power on the camera.
The camera will automatically power off after 30 seconds of
inactivity. The LCD indicates the camera mode either "Lr" for low
resolution (QVGA images) or "Hr" for high resolution(VGA images).
The LCD then displays the number of pictures you have remaining.
Press the shutter button to take a picture. A high pitched beep
indicates that the picture was taken successfully and the counter
will decrease accordingly. A low beep indicates insufficient light to
take a picture. A series of beeps is an indication that the camera is
full.
Pressing the mode switch repeatedly cycles through additional features as displayed on the LCD. When a
given feature is displayed it may be selected by pressing the shutter button. If an option is not selected
within 5 seconds the display will revert back to the number of available pictures.
Introduction
(640 x 480 Pixels)
User Interface
***Notes ***
Taking a picture
Additional features
Press SW1 to select mode
Press SW2 to change features
Features will be displayed
Images. These
@ n
I P
C o m p a n y
View Finder
Lens
USB Port
Shutter Switch(
Mode Switch(
LCD Display
Battery Cover
Press Sw2
LCD
will be light up
Press Sw1
to take a picture
SW1
)
SW2
)
