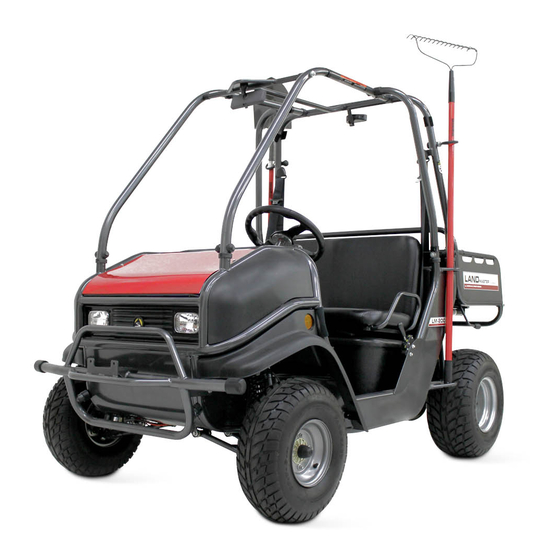
AMERICAN SPORTSWORKS 15184 Instructions d'installation
Parcourez en ligne ou téléchargez le pdf Instructions d'installation pour {nom_de_la_catégorie} AMERICAN SPORTSWORKS 15184. AMERICAN SPORTSWORKS 15184 4 pages.

800-643-7332
As illustrated below, this kit contains:
Winch Mountable Bumper
Qty: 1
Winch Motor & Spool
Qty: 1
Hand Held Winch Controller
Qty: 1
Winch hook
Qty: 1
Hook Strap
Qty: 1
Fairlead
Qty: 1
Fairlead Bracket
Qty: 1
Winch / Fairlead bolts & nuts
Qty: 5
Terminal Covers
Qty: 4
winch / fairlead
hardware
winch
fairlead bracket
hook strap
stock hardware that ships with winch
not needed for this application
WARNING
Wear proper eye protection through the entire process to
avoid potential eye injuries.
RISK OF SERIOUS INJURY OR DEATH
• Use wheel chock and set parking brake with unit raised
WARNING
• Always use properly rated ramps or jack stands when
working under a raised vehicle. Never work under a
vehicle supported only by a jack
bumper bolts / nuts
Fig. 1
TOOLS REQUIRED
Ratchet
16mm Socket
8mm Socket
½" Socket
12mm Wrench
17mm Wrench
3/8" Drill Bit
1" Flat Drill Bit
Phillips Screwdriver 13mm wrench
winch mountable bumper
fairlead
controller
terminal covers
winch hook
Bumper Bolts
200 SERIES LUTV WINCH KIT (15184)
THIS KIT IS USED ON OLDER STYLE 200 SERIES LUTV MODELS
10mm Socket
½" Wrench
Drill Motor
NOT FOR USE
Hydraulic Jack
Jack Stands or Auto Ramps
Procedure:
1
Bumper Removal - if necessary (figure 1)
• Remove the (4) nuts / bolts used to attach the bumper.
• Remove old bumper and set aside.
• Save the (4) bolts and nuts for re-use on the new winch bumper.
2
Winch Bumper Installation (figure 3)
There are two styles of winch bumpers. Review yours to see if there is a flat plate with
two holes already welded vertically to the front of the bumper as shown in figure 2. If so,
you do not need to use the supplied fairlead bracket. If your bumper does not have that
plate, you must use the supplied fairlead bracket. Pass the (3) 5/16-18 x 1" long bolts
through the winch, the roller fairlead mounting bracket (if needed), and the bumper.
Install the nylon locking nuts and tighten to 18 lb ft. Once installed, the winch motor
housing should be toward the right and the vertical face of the roller fairlead mounting
bracket should be forward and pointing "up" (as viewed from the driver's seat).
Pass the (2) M10 x 25mm long bolts through the roller fairlead and the roller fairlead
bracket's vertical face whether it is welded or bolted variety. Install the flat washer, lock
washer, and nut. Tighten.
Fig. 2
M10 nut
winch bumper
Fig. 3
Older style 200
Newer style 200
bumper with welded
fairlead bracket
5/16 - 18 x 1"
bolt
winch
only one side illustrated
(bolts mount on both left &
right side of fairlead)
flat washer
lock
washer
fairlead
fairlead mounting
bracket (15117-2)
M10 x 25 bolt
5/16 - 18
nylon lock nut
Page 1 of 4
15200 Rev. B
