Barn Owl RangeCam Mini Manuel d'instruction - Page 5
Parcourez en ligne ou téléchargez le pdf Manuel d'instruction pour {nom_de_la_catégorie} Barn Owl RangeCam Mini. Barn Owl RangeCam Mini 20 pages.
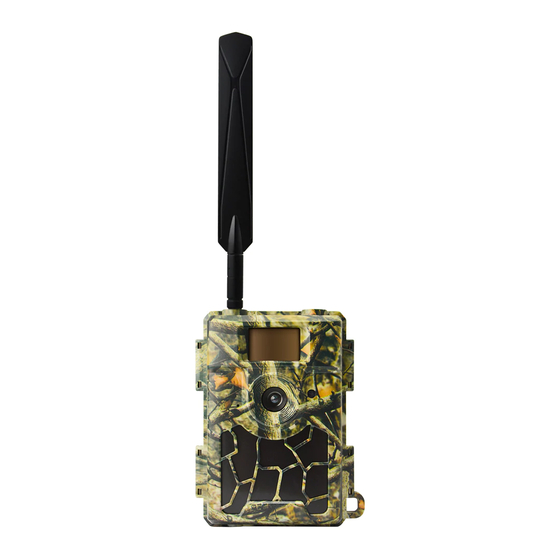
1.3 How to Setup the Camera
1. Power on the camera AFTER you've installed the batteries, SIM card, & SD card
The camera is pre-configured for motion triggered photos. To use basic
motion triggered photos, move the power switch Switch to ON. The screen
will not come on, but you will see the red LED in the front of the camera
flash. The camera can now be mounted if motion-activated photos are
desired. Refer to page 6 below for default settings in red letters.
2. Configure Camera Settings
When you switch the camera to SETUP mode the screen will light up. Press
the Menu key to view & change settings. Press the arrow keys for navigation
and the OK key to confirm settings.
Note: Switch to ON to enable the camera to work after settings are
configured.
3. How to Connect the Camera to Network
The camera will begin a network "Searching" process when you select
SETUP and will display network strength in bars when a network is detected.
If it comes with a pop-up "SIM Auto Match failed...", please go to "SIM Auto
Match" under "4G", select "Manual", and fill in local operator APN details in
"Manual Setup"
Note:
By default, the camera transmits photos to the Barn Owl app via FTP. You
can email photos directly from the camera, but it will use more data than
just using FTP. The camera will not send MMS with the SIM card provided
by Barn Owl. If you desire emails or texts, we recommend setting those up
in the Barn Owl app. The Barn Owl software will forward incoming images
to the selected emails or phone numbers.
Barn Owl Tech, Inc
5