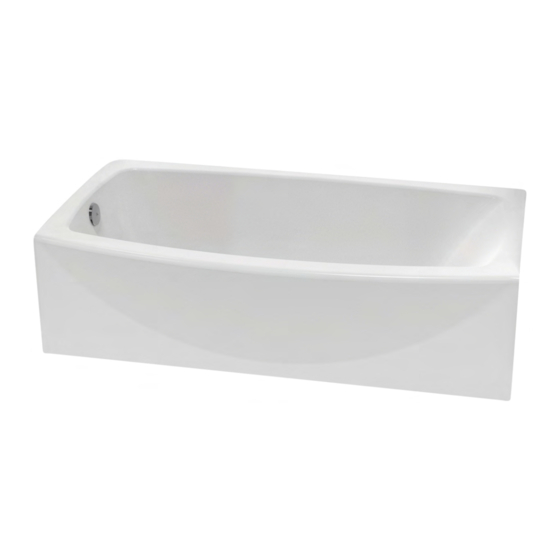
American Standard 1713 Monarch Series Manuel d'installation et d'utilisation - Page 3
Parcourez en ligne ou téléchargez le pdf Manuel d'installation et d'utilisation pour {nom_de_la_catégorie} American Standard 1713 Monarch Series. American Standard 1713 Monarch Series 6 pages. Aths with integral apron
Également pour American Standard 1713 Monarch Series : Manuel d'installation et d'utilisation (16 pages)

MODEL
NUMBER
A
1713
60"
1524mm
Framing and installation
Locate studs as required. Ensure rough dimensions are proper, plumb and square.
The following procedure must be used for all installations: stringer height should be as indicated.
The sump of the bath is supported by wood runners and no additional sump support is required.
Once the bath is in place, the runners should be shimmed accordingly, so that the rim of the bath contacts the stringer or pier but
supports no weight.
Any finish material, such as tile or wall board, must be self-supporting if it contacts the rim of the bath.
Alcove Installation
LEVELING
STRINGERS
E
*D
A
* "C" AND "D" ARE FOR BATH
DRAIN LOCATIONS ONLY.
Plumbing
• CONSULT A QUALIFIED PLUMBER TO HOOK-UP THE DRAIN/OVERFLOW PLUMBING TO THE HOUSE WASTE SYSTEM.
USE INSTRUCTION SUPPLIED WITH DRAIN AND OVERFLOW.
Deck-mounted Faucet:
For deck-mounted faucet and fill spout, use a hole saw for drilling. Apply masking tape to protect the surface prior to drilling to avoid damage. Follow the
manufacturer's instructions for spacing and size of holes to be drilled. Be sure to locate the fill spout so that the flow of water does not strike handles or other
surfaces which may cause the water to splash. The plumbing for the faucet and fill spout should not be allowed to interfere with the airbath equipment.
Testing:
It is important to remove all construction debris to ensure that the bath is clean before testing.
Be sure to test the airbath after the electrical and plumbing are complete, before enclosing the bath and completing the surroundings. This test ensures that
no damage occurred during shipment or installation and that the installation is satisfactory. Failure to do this will affect your warranty coverage.
Fill the bath and allow the water to stand for 30 minutes. Check the drain and waste/overflow for leaks. Turn on the airbath jets and run for 20 minutes.
Check for leaks while system is under pressure.
Rough-in Details
ROUGH-IN CHART FOR BATH MODEL
DIMENSIONS
B
C
31"
15-1/2"
787mm
394mm
190mm
D
E
WEIGHT
7-1/2"
21-3/4"
81 lbs.
552mm
37 Kg
SUGGESTED INSTALLATION METHOD
WOOD STUDS
STUD
WATER PROOFING DRYWALL
OR CEMENT BOARD
TILE
ROOFING NAIL
SEALANT
TUB
2 5 x 7 6 m m ( 1 x 3 ) W O O D
S T R I N G E R F U L L L E N G T H
SECURE THE BATH TO THE STUDS AS SHOWN FOR WOOD OR STEEL STUD CONSTRUCTION
NOTE: BUILDING MATERIALS AND
WIRING SHOULD BE ROUTED
AWAY FROM THE AIR PUMP BODY.
3
ACTUAL UNIT SIZE
HEIGHT
LENGTH
WIDTH
23"
60"
33-3/4"
584mm
1524mm
857mm
STEEL STUDS
STEEL
STUD
WATER PROOFING DRYWALL
OR CEMENT BOARD
TILE
SEALANT
TUB
2 5 x 7 6 m m ( 1 x 3 ) W O O D
S T R I N G E R F U L L L E N G T H
754474-100 Rev. A
WASHER
4" (102mm)
DRYWALL
SCREW
