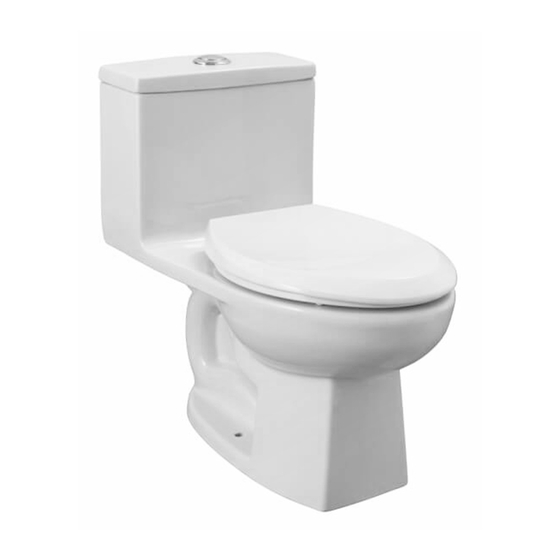
American Standard EQUIX Series Manuel d'instructions d'installation - Page 3
Parcourez en ligne ou téléchargez le pdf Manuel d'instructions d'installation pour {nom_de_la_catégorie} American Standard EQUIX Series. American Standard EQUIX Series 10 pages. One piece toilet

Componentes requeridos
Required componentes
Algunas de las referencias sanitarias vienen con estos componentes incluidos.
Some toilet's references get inside this components.
Brida plástica
Manguera de suministro
Sealing flange
* NO es necesaria para todas las referencias sanitarias.
*NOT necessary to all toilet' s references.
Quitar el inodoro viejo
Remove the old toilet
A. Cierre la válvula de suministro de agua y descargue el agua del tanque
completamente.
Quite el agua del remanente en el tanque y de la taza con una toalla o esponja.
B. Desconecte y remueva la línea de suministro de agua. Nota:
Si va a reemplazar la válvula, primero cierre el suministro principal de agua.
C. Quite el equipo viejo de montaje( tapapernos, tuerca, arandela metálica,
arandela plástica).
Remueva el inodoro y tape el tubo de drenaje en el piso para prevenir el
escape de los gases de la alcantarilla.
D. Remueva de la brida los pernos de anclaje y limpie todos los residuos de la
instalación anterior (cera , masilla, etc.) del área del piso donde se instalará
el nuevo inodoro.
NOTA: La superficie de montaje tiene que estar limpia y nivelada antes de
instalar el inodoro nuevo.
A. Close the water supply valve and discharge the water from the tank completely.
Remove water from the remnant in the tank and from the bowl with a towel
or sponge.
B. Disconnect and remove the water supply line. Note:
If you are replacing the valve, first turn off the main water supply.
C. Remove old mounting hardware (cap, nut, metal washer, plastic washer).
Remove the toilet and cover the drain tube on the floor to prevent gas from
escaping of the sewer.
D. Remove the anchor bolts from the flange and clean all debris from the previous
installation (Wax, mastic, etc.) of the floor area where the new toilet will be
installed.
NOTE: The mounting surface must be clean and level before installing the
new toilet.
Válvula de entrada
Supply line
Anillo de cera*
Fill valve
Wax ring*
3
