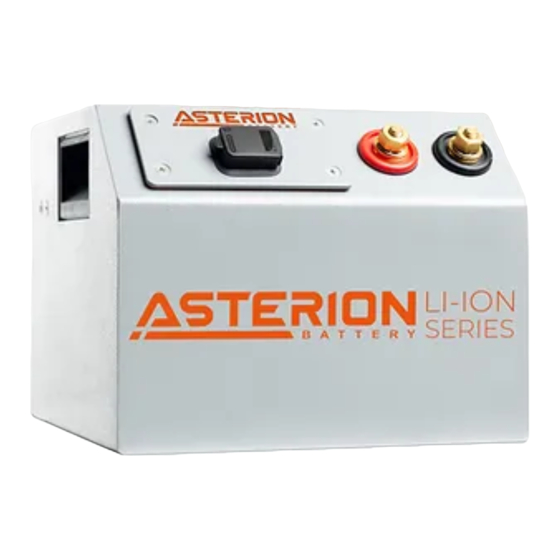
Asterion LI-ION Series Manuel du propriétaire
Parcourez en ligne ou téléchargez le pdf Manuel du propriétaire pour {nom_de_la_catégorie} Asterion LI-ION Series. Asterion LI-ION Series 2 pages. Lithium battery charger

LITHIUM BATTERY CHARGER OWNER'S MANUAL
A. Features:
1. Advanced high frequency switching mode power supply technology.
2. DC output isolated from AC input .
3. Single Input 110Vac and 230Vac or Universal Input 110-230Vac, 50Hz~60Hz.
4. Charging parameters are insensitive to the AC input line voltage variations.
5. Completely automatic battery charging: CC, CV.
6. 2 LEDs: LED1 Red (power on), LED2 Red/green (charging/full).
7. Short circuit, over voltage, over-temperature, reverse polarity protections.
8. Efficiency > 85%.
9. Forced ventilation with fans.
B. Operations:
1. Check if your local mains supply conforms to charger's input voltage 110 or 230V. Then connect
the charger system to a wall socket. If charger has switch with OFF position, it MUST be set to
ON.
2. LED1 RED confirms AC power on, and the LED2 GREEN confirms charger connects well.
3. Connect the plug or the DC Output cord to battery terminals.
LED2 RED confirms charger is charging, LED2 GREEN confirms battery fully charged
Note: If this charger with a Relay for Reverse Polarity Protection, it doesn't have output
voltage and current when charger AC power on but disconnecting with the battery. It will
have voltage and current output when it connects with battery. If the charger has a Fuse
instead of Relay for Reverse Polarity Protection, it has output once AC power on.
C. Charging Mode(2-stage):
Step 1: CC(Constant Current)
Step 2: CV(Constant Voltage)
D. Precautions:
1. The phenomenon of Sparking is normal when it connects to battery because of high current.
1. This charger is designed for charging Lithium type batteries only.
2. Avoid charging the wrong type of battery.
3. The battery maybe damaged if LED
cannot be changed to green after a long time of charging.
2
4. Always place the charger in well-ventilated and dry environments.
5. The charger is designed with aluminum case as its heat sink. Do not cover it to avoid the case
from being over heated while charging.
6.Please attention to DC terminal:
Brown→(+) Positive Terminal,Blue→(-) Negative Terminal
7. DO NOT disassemble charger. Take it to a qualified service person when service or repair is
required.
E. Packing List:
1. Charger 1pcs
2. User manual 1pcs
3. Direct wired DC wires
4. AC power cord
