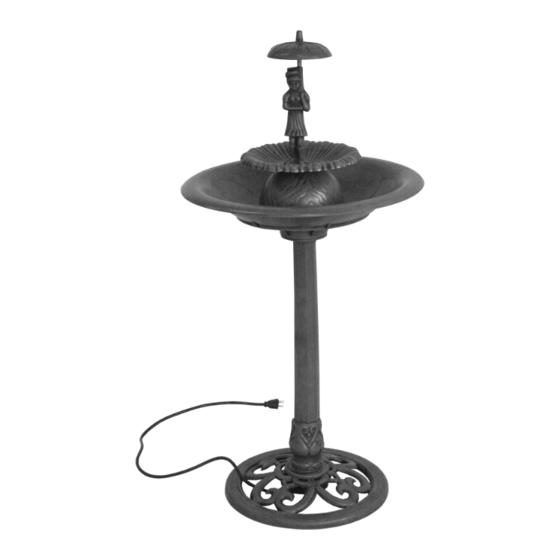
Astonica 40200101 Manuel d'instruction - Page 3
Parcourez en ligne ou téléchargez le pdf Manuel d'instruction pour {nom_de_la_catégorie} Astonica 40200101. Astonica 40200101 3 pages. Girl with umbrella resin fountain

PARTS & HARDWARE LIST
PART #
A
Girl Ornament
B
Umbrella
C
Dish
D
Pump Cover
E
Post
F
Post Connector
G
Base
H
Basin
I
Pump Assembly
J
Screws and Washers
K
Copper Connector
L
Pump and Girl Ornament Mounting Bracket
B
A
C
I
G
Carefully remove the contents from the package. If any parts are missing do not attempt to
use the product until they have been obtained and correctly installed.
IF YOU HAVE ANY PROBLEMS OR QUESTIONS CONCERNING THIS PRODUCT,
DO NOT RETURN IT TO YOUR RETAILER. CONTACT CUSTOMER SERVICE AT
1-888-424-3354.
ASSEMBLY INSTRUCTIONS
1. (SEE FIGURE 1) Connect post (E) and post
connector (F) together.
2. Insert the pump (I) electrical cable through
the center hole of post assembly (E and F)
and base (G).
3. Thread the lower end of post connector (F) into
base (G). Rotating clockwise to tighten.
DESCRIPTION
D
H
J
K
L
E
Figure 1
E
F
G
2
4. (SEE FIGURE 2) Thread bowl (H) onto
upper end of post (E). Rotate clockwise
QUANTITY
to tighten.
1
5. Secure the pump assembly (I) to basin (H)
1
using mounting bracket (L), screws and
washers (J).
1
6. Thread the copper connector (K) in the
1
mounting bracket (L) until copper tube of
1
connector is tight on the top of the spout,
1
located on the top the pump assembly.
1
NOTE: Pump electrical cable should be routed
1
in slot in bottom of bracket (L). Mounting holes
1
in pump assembly will align with basin in
only direction, rotate as necessary to secure.
3
1
1
7. (SEE FIGURE 3) Adjust the pump flow selector
lever to the central position, midway between
"+" and "-" symbols.
8. Place the pump housing (D) and dish (C) over
the pump assembly (I).
F
CAUTION: Never operate the pump without
water. Damage to the pump may occur.
9. (SEE FIGURE 4) Thread the girl ornament (A)
onto the pump assembly tube. Rotating
clockwise to tighten.
10. Slip the umbrella (B) onto the girl ornament (A).
11. Fill basin with water and test water flow.
12. Follow reverse order of assemble to adjust
pump flow if necessary.
I
Figure 2
K
I
H
E
Figure 3
C
I
D
H
Figure 4
B
A
3
J
L
