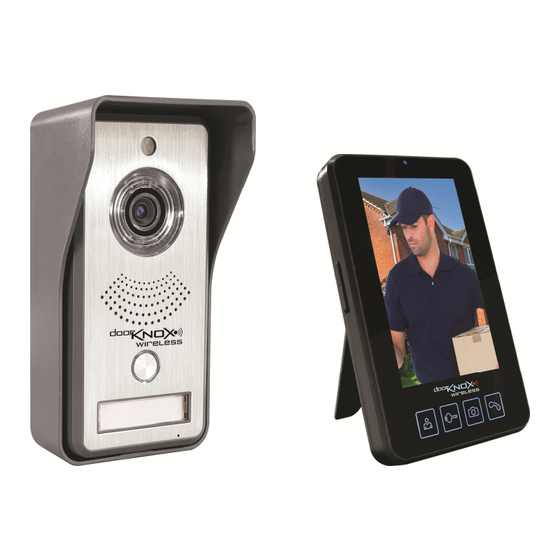
Door Knox VDP404 Manuel de l'utilisateur - Page 10
Parcourez en ligne ou téléchargez le pdf Manuel de l'utilisateur pour {nom_de_la_catégorie} Door Knox VDP404. Door Knox VDP404 13 pages. Wireless external door entry kit

Doc XVDP400
5. Battery Power for Monitor and Camera units
Battery indicator on the Monitor unit:
The battery icon in the top right hand corner of the screen represents the battery power of the
monitor unit. When the battery power is low, the battery icon will become red to indicate that
the battery needs charging.
Battery condition of the Camera unit:
When in talking state, the small battery icon in the top right hand corner on the monitor unit
represents the battery condition of the camera unit. When the battery power is low, the battery
icon will become red and the fully charged battery in the monitor unit can be used to replace the
battery in the camera unit.
6. Photo Function
Automatic photo-taking:
When there is a call from the camera unit, a photo will be captured and saved by the monitor
unit if the call is not answered within 5 seconds.
Manual photo-taking:
In talking or monitor state, press the Photo-taking button to take photos. There will be a
"Capture" message displayed. A maximum of 100 photos can be saved. When the maximum
number has been reached, any new photos taken will overwrite the oldest ones automatically.
View photos:
In standby mode, when the screen is on, press the Phototaking button to view the pictures.
The photos taken most recently will be ranked first. Press (+ -) button to select photos to
view, press TALK button to exit to return to the standby page.
Delete photos:
When viewing photos, press the Photo-taking button and then an indication of "whether to
delete the photo" will pop up, press (+ -) button to select "Y (delete one photo)", "N(NO)"
and "ALL (delete all photos)", and then press Photo-taking button to confirm.
If "Y (delete one photo)" is selected, press the TALK button to turn back to standby mode.
If "ALL (delete all photos)" is selected, it will turn back to standby mode automatically.
7. PIR Sensing Function
When camera unit's PIR sensor is triggered, the monitor will show camera picture and a
photo will be taken and stored on monitor unit.
8. Pairing the Monitor to the Camera
As these are Wifi units, they need to be paired so that separate sets can be run at the same
site. A maximum of three monitors can be paired to a camera. A monitor cannot be
paired to more than one camera.
1. When the monitor is powered off, press and hold the Power button for 3 seconds
to power it on, the screen will the display "Welcome". Then immediately press the
Email:
Last Revised: 13/07/2017
