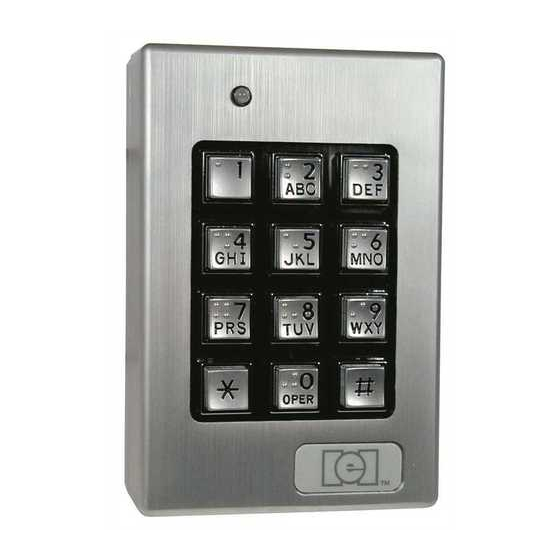
Door-Gard COMMAND AND CONTROL SERIES Manuel de programmation - Page 2
Parcourez en ligne ou téléchargez le pdf Manuel de programmation pour {nom_de_la_catégorie} Door-Gard COMMAND AND CONTROL SERIES. Door-Gard COMMAND AND CONTROL SERIES 4 pages.

1
TESTING THE KEYPAD
1. 1. Connect the positive (+) lead of your power
supply to the terminal strip (TS1) +V input.
2. 2. Connect the negative (-) lead of your power
supply to the terminal strip (TS1) -V input.
3. 3. Turn on your power supply.
4. 4. Press 7890#123456 * . If all 12 keypresses have
been verified, the keypad will enter self test mode.
Either the LED's will flash or the sounder will beep 3
times,.then light or sound continuously for 3 sec
onds (except on the mullion). If these responses do
not happen, try the test mode again and then call
tech support. Note:
Note: self test mode can be used
when troubleshooting a keypad in the field. If you do
not get the continuous light or sound then the mem
ory has been corrupt and should be re-programmed
with the 46 command (see option #19).
5. 5. Enter the master code of 1234 * . The relay will ener
gize. Refer to programming section to program your
keypad.
NOTE:
NOTE:
The keypad may be programmed in your shop or at the
installation site. Programmed information is stored in non-
volatile memory so it will not be lost if power is removed.
COMMAND AND
CONTROL DEFAULTS
The Door-Gard Command and Control Series
keypads are designed for easy installation in a
minimum amount of time. The following defaults
have been factory programmed.
Master Code (user 1)
Main Relay will energize for
Auxiliary Outputs will energize for
Panic will energize
Keypad Active Output
Remote Triggering Input will energize
Keypress Feedback
Led on when powered up
Led on when relay is activated
If defaults must be changed or additional functions
are desired, please refer to the PROGRAMMING
OPTIONS chart after you are familiar with the
PROGRAMMING section.
2
1234
1234
5 seconds
5 seconds
5 seconds
5 seconds
Output 4
Output 4
Off
Off
Main Relay
Main Relay
On
On
RED
RED
GREEN
GREEN
PROGRAMMING
1. Enter programming mode
Press
99 # (master code ) * *
2. To change master code
Press
1 # (new master code) *
Repeat (new master code) *
If main relay time must be changed, substitute option 2
from PROGRAMMING OPTIONS CHART for step above.
3. To add/change second code
Press
2 # (new user code) *
Repeat (new user code) *
4. To add/change third code
Press
3 # (new user code) *
Repeat (new user code) *
5. Up to 120 codes may be added in this fashion
6. Exit programming mode
Press
* *
NOTES:
• User location represents one location in memory
where an individual code is stored. A user code is
stored in it's own user location.
There are 120 user locations available.
1
•
Some Door•Gard products contain a sounder in
place of the yellow LED. In these products the
flashing is replaced by a beeping.
•
2
The master code is always in user location 1
The master code is always in user location 1.
• The master code allows access to the
programming mode & activates the main relay.
• All codes must be followed by the * * key .
• Codes may be from 1-6 digits in length, and digits
may be repeated.
• If the master code is forgotten or does not seem to
If the master code is forgotten or does not seem to
be working, momentarily push SW1 on the circuit
be working
board, (see wiring diagram for location) to enter pro-
gramming mode and follow step two from above to
program a new master code.
• If the yellow LED lights (or sounder sounds) solid while
in programming mode an error has occurred. Press *
to clear (yellow LED should flash or sounder sound)
and start over from step 2 or 3 above.
Yellow LED
1
Flashes slowly
2
Flashes fast
Flashes slowly
Flashes fast
Flashes slowly
Flashes fast
Flashes slowly
Out
