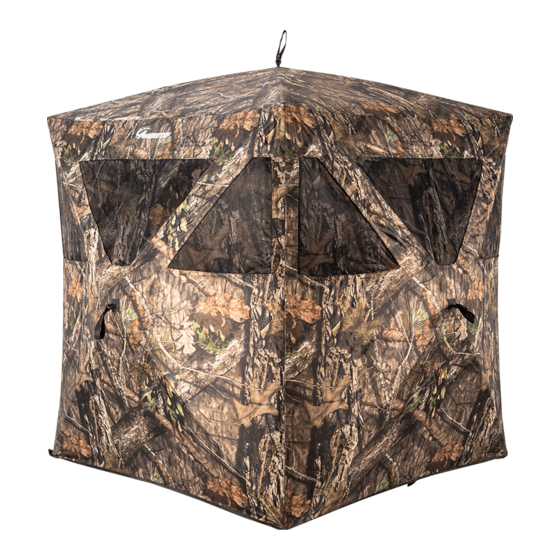
Ameristep 1RX2H046 Manuel d'instruction et de sécurité - Page 8
Parcourez en ligne ou téléchargez le pdf Manuel d'instruction et de sécurité pour {nom_de_la_catégorie} Ameristep 1RX2H046. Ameristep 1RX2H046 9 pages. Care taker/enforcer ground blinds

Included:
1 Ground Blind
1 Carrying back pack case
After removing Blind from Case, unfold
1
each corner outward and lay flat on
ground as shown in Figure 1. Be sure
material is NOT twisted or overlapping
ends of poles.
Figure 1
3
Note: If you cannot access the wall hub
when starting to lift the blind in Step 4,
rotate the opened wall left to right slightly
as shown in Figure 3, while lifting. This
will allow the blind to open so you can
pull the remaining hubs into place.
Figure 3
5
Continue around blind, pulling each
center hub until all but door side hub is
extended as shown in Figure 5.
Figure 5
NOTE: Images used are for demonstration
purposes only and may not depict actual
product.
2
Evolved Ingenuity • 602 Fountain Parkway • Grand Prairie, TX 75050 • 855.212.4047 • www.ameristep.com
Care Taker-2007860_ENG.indd 2-3
SET-UP
Ground stakes
High wind tie-downs
2
Firmly pull one of the hubs until it pops
open. Note: Door side hub should be
opened last.
Figure 2
4
Lift the blind until you can access another
wall hub and firmly pull until wall pops out
as shown in Figure 4.
Figure 4
6
IMPORTANT: Make sure door zippers
are fully closed so wall will keep tension.
Now pull DOOR HUB out.
Figure 6
Your blind should now be set up. Use
7
stakes to secure blind to the ground.
Adjust windows, and add native brush
to stubble pockets (if available on your
model) to optimize your camouflage.
TAKE-DOWN
IMPORTANT: Be sure to remove ALL brush, dirt and debris. Remove stakes and
tie-downs and be sure to close ALL windows BEFORE begining take-down.
Model #1RX2H046 includes a removable floor - this must be fully removed
before starting the take-down process to prevent damage to your blind.
1
Close and secure windows from interior.
Exit Blind. UNZIP DOOR ZIPPER as
shown in Figure 1.
Figure 1
Repeat Step 2 on remaining walls.
3
Once all walls have been pushed
in, blind will collapse onto ground as
shown in Figure 3.
Figure 3
5
Blind should look like Figure 5.
Figure 5
Note: If you cannot bring all of the cor-
7
ners of the blind together, gently rotate
the top-most corners from left to right as
you continue to bring them together. You
will feel them "free-up" and collapse as
shown in Figure 7.
Evolved Ingenuity • 602 Fountain Parkway • Grand Prairie, TX 75050 • 855.212.4047 • www.ameristep.com
2
With an open palm, push center hub of
one of the walls until the tension begins
to give as shown in Figure 2.
Figure 2
4
With an open palm, push center hub
pole of roof until tension gives as shown
in Figure 4.
Figure 4
6
Gather all corners of blind as shown in
Figure 6.
Figure 6
Figure 7
Soft Ends
Hubs
19.08.20 08:10
3
