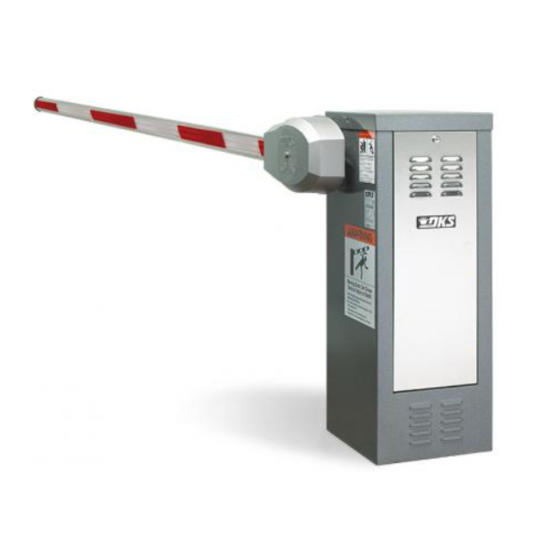
DoorKing 1601 Series Manuel du propriétaire - Page 3
Parcourez en ligne ou téléchargez le pdf Manuel du propriétaire pour {nom_de_la_catégorie} DoorKing 1601 Series. DoorKing 1601 Series 8 pages. Break-away octagon arm installation kit
Également pour DoorKing 1601 Series : Manuel (5 pages), Manuel d'installation (11 pages)

Install Wire Harness (1601-355)
Choose which side of the operator the arm is mounted on,
remove knock-out and run wire harness accordingly as shown.
O p
Cable Grip
Cable Grip
IMPORTANT: Allow slack in the
wire harness between the cable
grips of at least 13" or more
for the rotating arm.
Option #1
Attach wire harness connector on
bottom of bracket as shown.
1601-269-D-2-20
F a r
S i d
e
K n
t i o n
o c k
- O u
Note for Older Operators: A 5/8"
hole will have to be drilled in the
operator cabinet approximately
where Knock-Out is shown. Make
sure 5/8" hole is clear of all
internal components.
R e
n a l
t i o
O p
N e
a r
S i d
e
O p
t i o n
K n
o c k
t
Wiring:
See page 5.
g e
E d
s e
v e r
Attach wire harness connector on
bottom of bracket as shown.
3
Cable Grip
Cable Grip
- O u
t
IMPORTANT: Allow slack in the
wire harness between the cable
grips of at least 13" or more
for the rotating arm.
Note: Spacer
MUST be in
position when
installing a
reverse edge.
See page 8.
Option #2
g e
E d
s e
v e r
R e
n a l
t i o
O p
