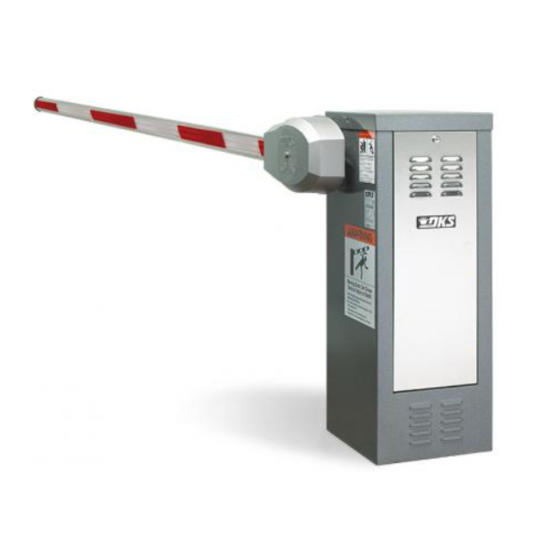
DoorKing 1601 Series Manuel d'installation - Page 6
Parcourez en ligne ou téléchargez le pdf Manuel d'installation pour {nom_de_la_catégorie} DoorKing 1601 Series. DoorKing 1601 Series 11 pages. Break-away octagon arm installation kit
Également pour DoorKing 1601 Series : Manuel du propriétaire (8 pages), Manuel (5 pages)

Mount Power Supply and Relay
IMPORTANT: Power supply MUST be wired
BEFORE mounting it as shown. See page 7.
e
U s
g
s t i n
l a y
l a t e
E x i
R e
g e
g P
r r i a
t i n
C a
u n
l t
M o
B o
2
l a y
1
R e
3
+
4
-
Mount Relay
Mount relay as shown.
NOTE: Relay is needed
screw FIRST.
for breakaway bracket.
T e r
P o
w e
Mount Power Supply
1601-269-G-7-21
1 1
5 V
1 1
N E
5 V
U
H O
T
S U
G R
P P
L Y
O U
N D
O N
Install this
Install this screw
SECOND.
l
n a
m i
r S
u p
u p
p l y
r S
w e
g P
P o
t i n
u n
M o
f
e o
o x
S i d
i c B
o n
c t r
E l e
U P
O N
D O
W N
p l y
e
l a t
6
Electronic Box
Relay
Mounting Plate
1
2
Relay
NEG
POS
4
3
Drill .213" Holes
1.3"
Power Supply
Drill Hole Positions
Drill holes in positions shown to mount
power supply to side of electronic box.
Front of Electronic Box
UP
LOOP
DOWN
LOOP
Relay
1 2 3 4 5 6 7 8 9 10 11 12 13 14
Use
Existing
Carriage
115V
115V
Bolt
NEU
HOT
SUPPLY
GROUND
Power Supply
DoorKing Part Number
1601-295
Side of
2.5"
.75"
Mounting Position
TIME
TIME
T
DELAY
SW 1
POWER
SW 2
REVERSE
SENSITIVITY
C
NC
NO
NC
UP
ON
ON
OFF
OFF
DOWN
