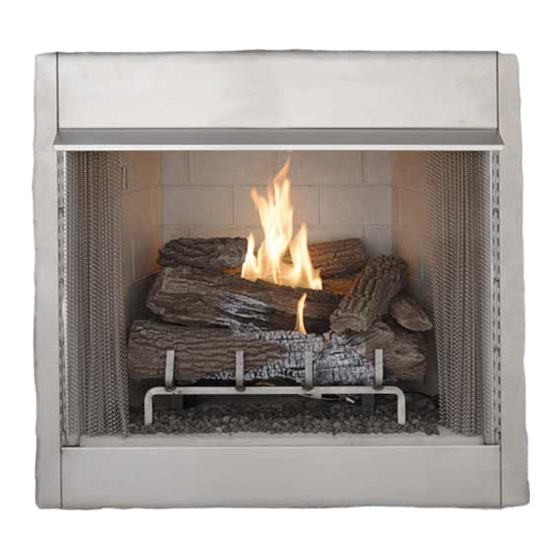
Astria StarLite42WS Manuel d'installation et d'utilisation - Page 10
Parcourez en ligne ou téléchargez le pdf Manuel d'installation et d'utilisation pour {nom_de_la_catégorie} Astria StarLite42WS. Astria StarLite42WS 18 pages. Indoor and outdoor vent-free firebox

IMPORTANT: When finishing your firebox, combustible materials
such as wall board, gypsum board, sheet rock, drywall, plywood,
etc. may be butted up next to sides and top of firebox. Combustible
materials should never overlap firebox front facing.
WARNING: Do not allow any combustible materi-
als to overlap firebox front facing.
IMPORTANT: Noncombustible materials such as brick, tile, etc. may
overlap front facing, but should never cover any necessary openings
like louvered slots.
WATERPROOFING THE FIREPLACE
Although this fireplace is designed to operate safety outdoors, rain
may enter the hearth area (along with condensation) that could cause
an undue amount of water to collect in the fireplace bottom.
To prevent water collection, the builder must provide a means
to drain water from under the fireplace by building or installing
a water collector of the builders choice, before positioning the
fireplace in its location.
Special care must be taken when the fireplace is installed against an
exterior wall. The enclosure surrounding the fireplace on the sides
and back must be treated as an exterior wall.
Innovative Hearth Products (IHP) provides an optional drain pan to
assist weatherproofing the fireplace.
H4651 DPSS36 Drain Pan for StarLite36, H4652 DPSS42 Drain Pan
forStarLite42.
10
INSTALLATION Continued
WARNING: Do not allow noncombustible materials
to cover any necessary openings like louvered slots.
WARNING: Use only noncombustible mortar or
adhesives when overlapping the front facing with
noncombustible facing material.
INSTALLING FIREBOX USING OPTIONAL ACCESSORY MANTELS
WARNING: A qualified service person must install
firebox. Follow all local codes.
This firebox may be installed using a cabinet mantel accessory against
a wall in your home. Firebox and cabinet mantel can be installed di-
rectly on floor. A trim kit is included with mantel accessories. Follow
instructions with mantel for installation.
INSTALLING GAS LINE
NOTICE: A qualified service person must connect heater
to gas supply. Follow all local codes.
IMPORTANT: See Connecting to Gas Supply in your log set owner's
manual for details on gas hookup.
You may run gas line from either side or back of firebox (see Figure
7a, Page 11). Decide which side you want to run gas line from.
NOTE: This is one option for installing shutoff valve. Check local codes
for equipment shutoff valve location requirements.
Locate recessed knockout in one firebrick liner (see Figure 1, Page
4 and Page 14). Firmly tap center of knockout with a chisel until it
is released. Carefully chisel rough edges of hole you have made to
smooth edges. This hole will line up with hole in outer casing.
CAUTION: Do not use excessive force to remove the
knockout. Too much force may damage the firebrick
concrete insert.
Astria.us.com
900977-00A
