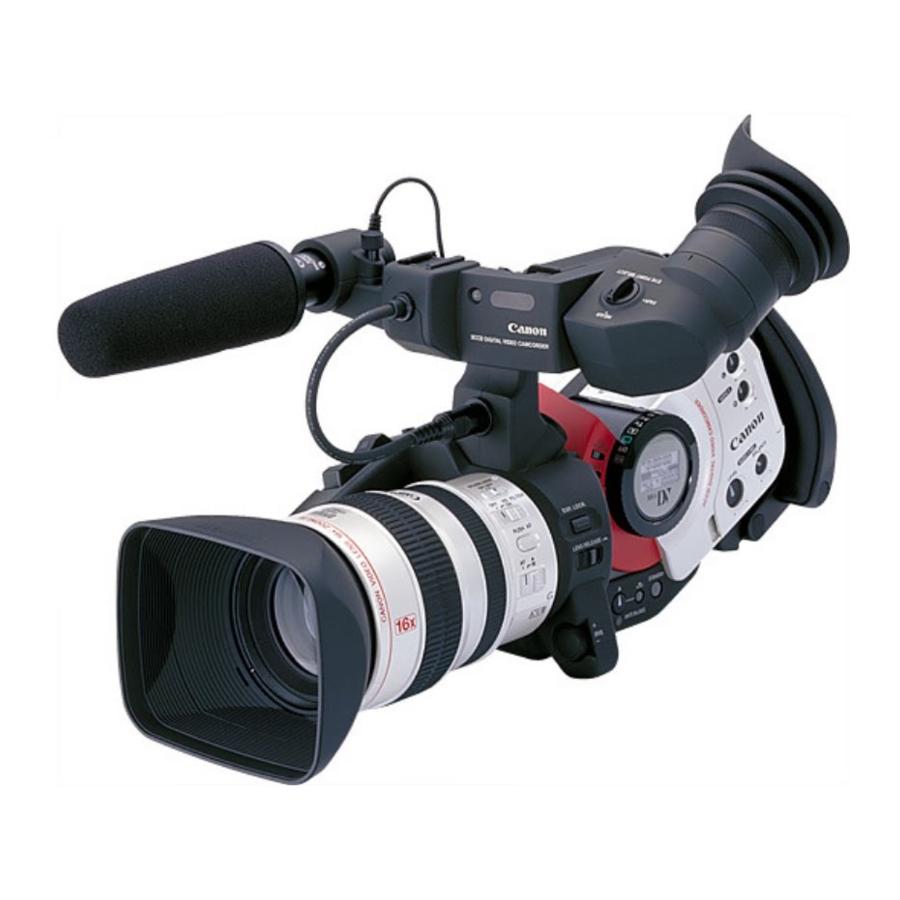
Canon XL 1 Manuel de l'utilisateur - Page 12
Parcourez en ligne ou téléchargez le pdf Manuel de l'utilisateur pour {nom_de_la_catégorie} Canon XL 1. Canon XL 1 26 pages. Camcorder
Également pour Canon XL 1 : Brochure (8 pages), Spécifications (1 pages), Instructions (2 pages), Brochure & Specs (8 pages), Manuel de l'utilisateur (9 pages), Manuel (9 pages)

Stereo 1 for output at Stage A, Stereo 1 (L&R) will be sent to RCA jacks labelled
Audio 2 (L&R) & Stereo 2 (L&R) – RCA jacks labelled Audio 2 (L&R) = 4
independent audio signals
Mixed the balance at Stage A, combination of left channels from stereo 1&2 sent to
left channel of Audio 1 & combination of right channels will be sent to right channel
of Audio 1.
L/L
Only left side signal is output to RCA left & right jacks. For reproducing only main
voice of bilingual information recorded on other equipment.
R/R
Only the right side is output to the RCA left & right jacks. For reproducing only sub
voice of bilingual information on other equipment
L+R+R
Gives a mono output. Sound from the left and right channels are combined and sent to
the left RCA jacks.
Audio Input for Two Channel Recording (Stereo 1) using the mini jacks, where the
sound source is the supplied microphone or an external microphone plugged into the
mini jacks (3.5mm mini-plug type):
1. Open the Camera Menu.
Select AUDIO MODE. Choose one of the following modes:
a. 16-bit 48kHz 2 channel (for the highest sound quality). Note: the 16-bit
mode contains only Stereo 1 sound. There is no Stereo 2 in this mode.
b. 12-bit Stereo 1 (32kHz, 2 out of 4 total channels) for recording on 2
channels (Stereo 1), leaving 2 channels (Stereo 2) free for you to add
new sound at a later date using a DV VCR. NOTE: you cannot add
new sound to a tape using the XL1 camcorder.
Close the menu. The name of your chosen mode is displayed in the viewfinder
and main LCD panel. It is not necessary to set AUDIO 1 to MIC on the menu.
2. Slide the INPUT SELECT switch to MIC.
This assigns the MIC mini jacks as the source for the audio input. You can use
the supplied microphone or attach an external microphone, or slide the INPUT
SELECT switch to ATT. If you are recording in a very loud environment (at
an airport for example), you may want to use the attenuator. The attenuator
reduces loud noises to produce a more natural sound.
3. Select the recording level method.
12
