Canon IRIS IRIScan Desk 5 Pro Manuel de l'utilisateur - Page 7
Parcourez en ligne ou téléchargez le pdf Manuel de l'utilisateur pour {nom_de_la_catégorie} Canon IRIS IRIScan Desk 5 Pro. Canon IRIS IRIScan Desk 5 Pro 46 pages.
Également pour Canon IRIS IRIScan Desk 5 Pro : Pour commencer (28 pages)

User Guide – IRIScan™ Desk 5 / Pro 5
3.3 Hardware installation
After installing the IRIScan™ Desk software, you can install your IRIScan™ Desk scanner. Double check the following procedure before
you proceed:
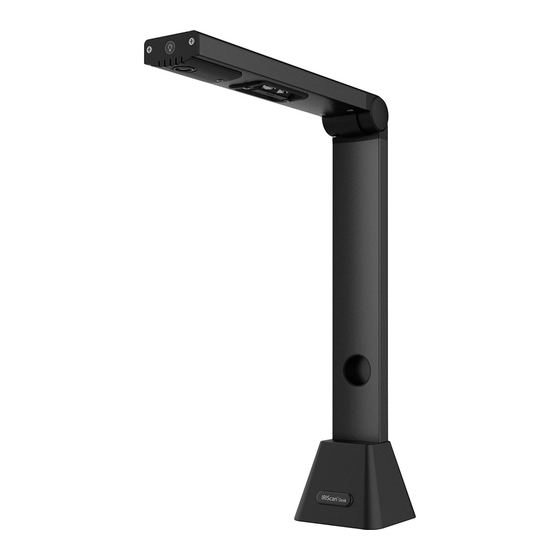
1. Place the ScanPad on your desk next to your PC, and then place the IRIScan™ Desk on the far end of the ScanPad (some marks are
drawn on the mat).
WARNING: The dark color ScanPad is used to ensure a good image and accurate cropping of the targeted objects. Not using it
may give bad results.
2. Connect the IRIScan™ Desk scanner to your PC via a USB cable.
3. Now you are ready to proceed to the next step for the software installation process.
If the device is not detected correctly, the detection keeps turning and a message is displayed on the screen to help you. See also
Troubleshooting.
WARNING: This software is distributed with a dedicated scanner: the IRIScan™ Desk. This software can bring out its full and
powerful potentials only when working with the qualified scanner hardware. If working with non-qualified scanners, some or all
of the features in this software might NOT work.
3.3.1 Integrated lamp
IRIScan™ Desk comes with an integrated lamp offering 3 luminous intensities.
It can be useful in case your scanning environement is quite dark.
To switch it on, simply touch the forefront of the scanner arm (
To change intensity, simply touch it again. At the fourth touch, the lamp switches off.
3.3.2 External capture button (Pro 5)
A physical scan button can be plugged in the IRIScan™ Desk scanner or directly in your PC thanks to the USB connector. It can replace
the scan button available in the ribbon of each tab in the software.
). Per default, the first luminous intensity is the strongest.
7
