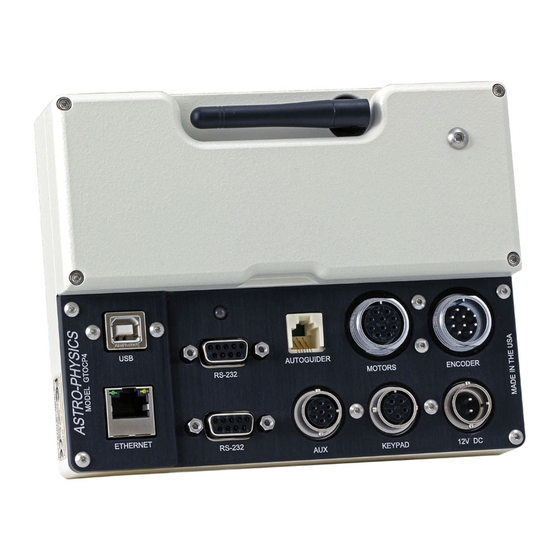
ASTRO-PHYSICS GTOCP4 Manuel - Page 2
Parcourez en ligne ou téléchargez le pdf Manuel pour {nom_de_la_catégorie} ASTRO-PHYSICS GTOCP4. ASTRO-PHYSICS GTOCP4 13 pages. First session with control box

For users upgrading from GTOCP3 to GTOCP4: Your new GTOCP4 does NOT know any of the
information that is stored on your original GTOCPx control box (location, time, time zone, last position,
etc) – the memory is EMPTY, or contains test data from Astro-Physics which will be WRONG for you.
It can NOT calculate the current pointing position since it does not have this information. This first
initialization will therefore require calibration on an AP Park position.
Refer to the section below that pertains to your software and particular situation – new mount or
upgrade from previous version of GTOCPx Control Box.
Once you have initialized your mount, you may wish to slew to an object, center it and recalibrate if
your reference park position was less than perfect.
If you wish to set your mount to auto-connect (a.k.a. auto-initialize) the next session, refer to the
documentation for the Keypad or the software you are using for more information. Only set auto-
connect options AFTER the first initialization and sky calibration have been completed.
If you have Absolute or Precision Encoders, be sure to take note of the relevant section below.
PLEASE NOTE: We highly recommend that you get your GTOCP4 fully initialized BEFORE you try to
take advantage of the Ethernet and WiFi capabilities.
This information will be updated frequently as new options become available. Check back to the
Technical Support section of our website periodically and check out the GTO Servo Drive section.
Keypad: software version 4.19.x
NOTE: If you are using 4.19.2, please update to 4.19.3 to avoid a rather obscure little bug. You can do
this after setting up the GTOCP4 because it does not affect this process, but please remember to do it.
New Mount Owners
Please refer to the "Your First Observing Session & For Portable Mount" in the version 4.19.3 Keypad
manual. As of this writing, the information is on pages 12-13. Here is a link to the manual:
http://www.astro-physics.com/tech_support/mounts/keypad/keypad-manual.pdf
For current Keypad users upgrading from a previous control box to a GTOCP4
1. If you still have your GTOCP3 or earlier version of the control box, we suggest that you leave it in
place during these first steps. If you no longer have your previous control box and Auto-Connect =
YES in your Keypad settings, follow the steps in the section below.
2. Remember that Auto-Connect should be set to "NO" prior to your first session with the GTOCP4.
To change the setting, select "2=Setup" and then "3=Keypad Options." Press "1" to toggle Auto-
Connect to "NO." Use "MENU" to return to the main menu.
3. Set the tracking rate to STOP using the "8" key.
4. Park the mount to one of the defined positions – 1, 2, 3 or 4.
5. This might also be a good time to verify that your location information in the keypad is correct, and
that the time, DST and date are also correct. Since you have stopped the tracking, it will remain
perfectly in the park position you selected, even though going through this process technically
unparks the mount.
6. Turn power off, disconnect the cables, and replace the older GTOCPx unit with your new GTOCP4.
7. Reconnect the cables including the new power cable and the keypad.
2
