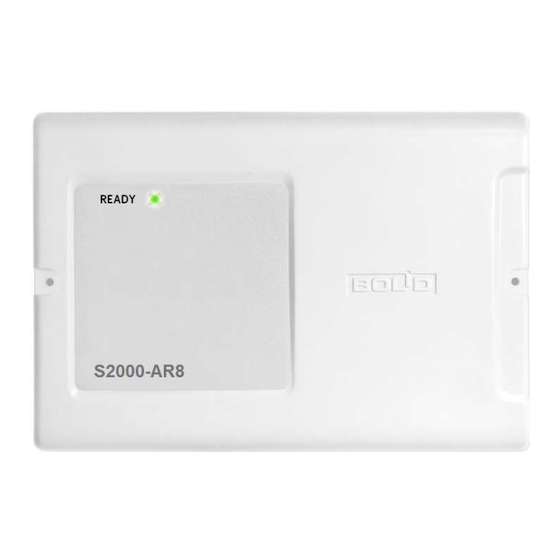
bolid S2000-AR8 Manuel d'installation - Page 2
Parcourez en ligne ou téléchargez le pdf Manuel d'installation pour {nom_de_la_catégorie} bolid S2000-AR8. bolid S2000-AR8 6 pages. Addressable eight-input module
Également pour bolid S2000-AR8 : Manuel d'utilisation (3 pages), Manuel de l'utilisateur (13 pages)

Figure 1. Overall and Mounting Dimensions of S2000-AR8
3 MOUNTING THE MODULE
3.1 Please read this manual through before using the drilling template.
3.2
Mounting onto a Wall
3.2.1 Please make sure that the wall the S2000-AR8 is to be mounted onto is solid, flat,
clean, and dry.
3.2.2 Attach the S2000-AR8 to the wall as per Variant 1 or Variant 2 below.
3.2.3 Variant 1. Apply the drilling template (page 6) to the wall. Drill three holes (A, B and C
or D at your choice).
3.2.4 Insert wall plugs to the holes and screw provided woodscrews to the two upper holes
so that a distance between a screw head and the wall to be about 7 mm.
3.2.5 Remove the cover from the S2000-AR8 as shown in Figure 2.
3.2.6 Hang the S2000-AR8 base on the two screws. Screw the third screw into the bottom
mounting hole and fasten the S2000-AR8 to the wall.
3.2.7 Variant 2. Apply the drilling template (page 6) to the wall. Drill three holes (E, F and C
or D at your choice)
.
3.2.8 Insert the wall plugs to the holes.
3.2.9 Remove the cover from the module as shown in Figure 2.
3.2.10 Apply the S2000-AR8 base to the wall so that the mounting holes align with the wall
plugs.
3.2.11 Screw the woodscrews into the mounting holes and secure the S2000-AR8 to the wall.
3.3
Mounting onto a DIN Rail
3.3.1 Mount the S2000-AR8 on the DIN rail as shown in Figure 3.
3.3.2 Remove the S2000-AR8 cover as shown in Figure 2.
2
http://bolid.ru
