Dover PSG AS40 Manuel d'instructions - Page 13
Parcourez en ligne ou téléchargez le pdf Manuel d'instructions pour {nom_de_la_catégorie} Dover PSG AS40. Dover PSG AS40 19 pages.

4. MAINTENANCE OPERATIONS (continued)
4.3.2 ASSEMBLING THE SHOES
1. Check that the shoes have no dents or deep scratches
that may quickly deteriorate the hose.
2. Position the screw 28 with its washer 29 around the
wheel 3.
3. Slip the special shims 4.
4. Positon the shoe 5.
5. Partially tighten the screw 28.
6. Insert a suitable number of shims in accordance with
the desired service pressure (see § SHIMMING THE
SHOES).
7. Tighten the screw 28, check that the shoe 5 is correct-
ly aligned with the wheel 3.
4.4 Setting of pump at service pressure needed
Shims may have to be added under the shoes (see §
SHIMMING THE SHOES).
The cover 2 need not be removed.
4.4.1 ADDING OR TAKING OFF SHIMS
First shoe :
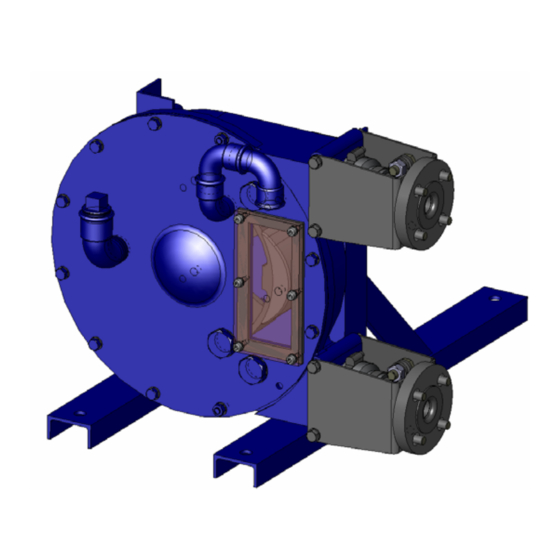
1. Position the shoe 5 facing the window 15. If the shoe is
not correctly positioned, operate the pump intermittently
until the shoe 5 can be seen through the window 15.
2. Switch off the electric power supply before any opera-
tion in order to prevent the pump starting unexpectedly.
WARNING
DISCONNECT THE ELECTRICITY SUPPLY
BEFORE ANY MAINTENANCE OPERATION.
Dangerous voltage.
Can cause
injury and death
.
3. Drain the pump of his lubricant following the instruc-
tions of the § DISASSEMBLING THE HOSE.
NT 1101-F00 08.10 A40 - AS40 e
Wrong position of the shoe
Right position of the shoe
13/19
CAUTION
THE PUMP LUBRICANT IS VERY SLIPPERY
AND MAY CAUSE SERIOUS INJURY.
ANY SPILLS MUST BE CLEANED UP.
Slippery lubricant.
Spills should be
cleaned up.
4. Loosen the screws 37 and remove the washers 38.
5. Remove the window 15.
6. Remove the window seal 46.
7. Partially untighten the screw 28.
Do not loosen the shoe screw 28 completely.
8. Place the suitable number of shims 4 (see § SHIMMING
THE SHOES).
9. Tighten the screw 28, check that the shoe 5 is correctly
aligned with the wheel 3 (see § ASSEMBLING THE
SHOES).
10. Check the window seal 46, change it if necessary.
11. Position the window 15 with its seal 46.
12. Tighten the screws 37, with their washers 38. Once
the screws are tightened, the seal must be squeezed
all over.
13. Switch on electric power supply.
Second shoe :
Repeat the previous steps from 1 to 13.
There must be the same number of shims under each
shoe.
NOTE
NOTE
