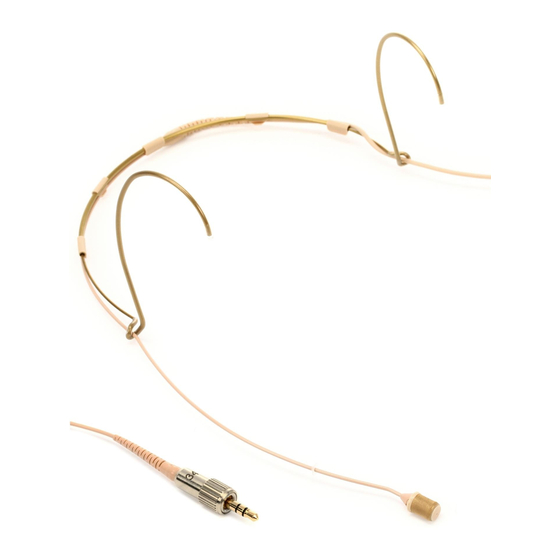
DPA 4088 Manuel de l'utilisateur - Page 4
Parcourez en ligne ou téléchargez le pdf Manuel de l'utilisateur pour {nom_de_la_catégorie} DPA 4088. DPA 4088 10 pages. Cardioid headband
Également pour DPA 4088 : Manuel (7 pages), Manuel (7 pages), Manuel de l'utilisateur (10 pages)

CORRECT USE OF THE CARDIOID
HEADBAND 4088
It is important to observe the following
guidelines concerning the daily use of the
microphone.
Correct treatment of the microphone
element
The diaphragm in the microphone element
is the most sensitive part of the unit and as
emphasized earlier, it must be left untouched
to preserve its original characteristics. Do
not spray any substances such as hair spray
directly into the microphone and avoid get-
ting make-up or paint on the microphone
element and housing.
Correct treatment of the microphone
cable
The cable is usually longer than required for
its actual purpose. Ensure that superfluous
cable is wound up in soft loops (preferably
6-8 cm in diameter). Avoid 'kinks' in the
cable. Exposing the cable to stretching
beyond its specifications or stressing it by
winding it tightly over sharp edges will
reduce the microphone's operational life.
Tip: The place where the cable enters
the MicroDot connector will sometimes
be exposed to excessive stress and after
long term heavy-duty use, the cable
might show signs of wear at this point.
As a preventive maintenance procedure,
it may be advisable to replace the con-
6
nector in this instance. Contact the
nearest DPA Microphones representa-
tive for maintenance advice or assistance.
Correct way to wind up the cable of
the Miniature Microphone. Please note
the slack after the connector.
Correct use of adapters and MicroDot
connectors
To provide users with safe and compact
mounting of connectors, all Miniature
Microphones from DPA are fitted with the
MicroDot connector as standard. A broad
range of connection adapters is offered as
optional accessories for most VHF and UHF
systems for professional use. The adapters
are ultra-compact and will in most cases
take up no more space than the original
connectors.
A connector tightening tool is supplied with
each adapter and should be employed
whenever the MicroDot connector needs
to be tightened safely onto the adapter for
long periods of time. Tighten the MicroDot
until the cable can no longer be turned at
the cable relief. Never attempt to loosen or
tighten the connector by the cable or its
strain relief! Despite the use of Kevlar®, the
cable might be damaged if twisted with
excessive force. Tighten the MicroDot
using finger torque or the recommended
tightening tool only. Do not use glue.
A connector tightening tool is
supplied with each adapter
A connector tightening tool is supplied
with each adapter and is to be turned
clockwise.
Do not mount any other connector onto
7
