Amprobe ACDC-400 Manuel de l'utilisateur - Page 6
Parcourez en ligne ou téléchargez le pdf Manuel de l'utilisateur pour {nom_de_la_catégorie} Amprobe ACDC-400. Amprobe ACDC-400 15 pages. Digital ac/dc clamp-on multimeter

INtRoDUCtIoN
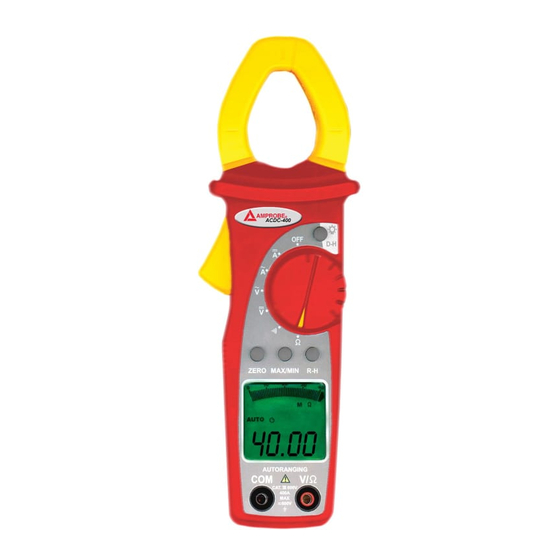
The ACDC-400 Clamp-on meter is an average responding autoranging 400 Amp
/ 600 V clamp meter. The features include AC / DC voltage, AC / DC current,
Resistance, and Continuity tests.
This instrument's display also contains an analog bar graph.
oPERAtIoN
Alignment marks (see fig. 2)
place conductor within the jaws at the intersection of the indicated marks as close
as possible to maximize the accuracy of the reading.
Auto Power off function
in order to save battery life, your clampmeter powers down automatically after
approximately 30 minutes of inactivity. You can turn it back on by turning the
function selector switch to off and back to a measuring function. The instrument
does not power down while in MAx Min mode. You can disable Auto power off by
pressing and holding the ZeRo button while turning the meter on.
R-H Range selection
press R-h button < 1 second, to enable/disable manual range selection.
backlight function (�)
press Backlight button more than 1 second, enable/disable Backlight. To use the
backlight in the 'Autoranging' mode, press and hold the R-h button for more than
2 seconds.
D-H function (DAtA HoLD)
freezes the reading present on the lCD at the moment the button is pressed.
To use this button feature, set up the meter for the type of measurement and
range desired. Connect the test leads or clamp jaws to the circuit/component to
be measured, then press hold. The lCD reading will freeze and display "�." You
may now remove the test leads and the reading will not change until you press D-h
again.
ZERo button: Relative display function
The ZeRo mode displays the difference between the actual reading and a reference
value. it may be used with any function or range; however, the range must be
set manually. To make a relative measurement first establish a reference value
by measuring a value and then pressing the ZeRo button after the reading has
stabilized. This stores the measured value as the reference and sets the display to
zero. The meter subtracts the reference value from subsequent measurements and
displays this difference as the relative value. Measurement values greater than
the reference value will be positive and values less than the reference value will
be negative. To exit the Zero Mode, press and hold the Zero button for 2 seconds.
7
GlobalTestSupply
www.
.com
Find Quality Products Online at:
