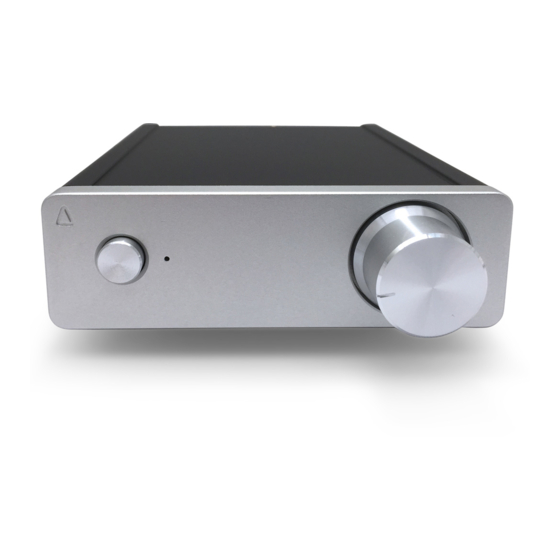
Amptastic MINI-1 Manuel de l'utilisateur - Page 2
Parcourez en ligne ou téléchargez le pdf Manuel de l'utilisateur pour {nom_de_la_catégorie} Amptastic MINI-1. Amptastic MINI-1 2 pages.

WHAT'S IN THE BOX?
•
Amptastic Mini-1 amplifier
•
Amptastic power supply unit (optional)
•
IEC power lead (optional)
INTRODUCTION
The Amptastic Mini-1 amplifier provides audiophile sound quality, low
power consumption and beautiful design – all in a small, affordable
package. Drawing on the several years of research, this amplifier
represents the very best in Tripath digital audio design.
INSTALLATION
1
Carefully unpack and inspect all items, set aside and store safely all
packaging for future use.
2
Connect the IEC power lead to the Amptastic power supply unit and
plug in to the AC wall socket. Ensure LED is illuminated on power
supply, switch on AC wall socket if required.
3
Position the Mini-1 central to loudspeakers, away from sources of
moisture, excessive heat or cold. Do not use in or near water.
4
Connect loudspeaker cables to the Mini-1 speaker binding posts,
using either bare cable or 4mm banana plugs. Ensure correct
polarity matching, +ve and -ve to each speaker and post.
5
Connect RCA stereo interconnect to the R/L input on the Mini-1,
the other side to input source.
6
Ensure Mini-1 power switch is off. Connect DC plug on Amptastic
PSU to the DC input socket.
7
Set volume to low level and power on the Mini-1 unit via the power
button. The LED indicator on the Mini-1 should glow blue.
8
Increase volume until music is at a desirable level.
Any problems please see Troubleshooting.
OPERATING THE MINI-1
FRONT
PANEL
Power on/off
Status LED
LED STATUS
Blue
Power on
Red
Power management charging/discharging
Purple (single)
System powering down
Purple (flashing)
Fault condition, see Troubleshooting
Silver dome nuts (for internal access)
R
L
REAR
R
PANEL
Audio source
4mm Speaker binding posts,
input for RCA
unscrew for wire
SPEAKER COMPATIBILITY
The Mini-1 is an efficient, low power audio amplifier. To get the best
experience it is recommended to partner with speakers of a high
sensitivity e.g. 85dB+ and 4g8ohm impedance.
The digital audio amplifier is internally bridged. It is therefore not possible
to operate in mono or tied output configuration. For more information
contact Support.
CONFIGURATION
It is possible to change the behaviour of the amplifier by changing
internal jumper link positions.
ACCESSING INTERNAL JUMPERS
1
Turn off and disconnect the Mini-1 from power supply unit.
2
Gently pull volume knob from the front panel.
Volume min/max
3
With needle nosed pliers, carefully remove the retaining nut and
washer for the volume control.
4
With needle nosed pliers, carefully loosen and remove the 4 silver
dome nuts on the rear panel.
5
Slide out circuit board assembly and place on a flat surface, access
to jumper links located on front side next to volume is now possible.
6
Reassembly is reverse of above.
POWER AMP MODE
DC 12-14v power input
L
POWER LED MODE
IMPORTANT NOTICE
Extra care must be taken when disassembling and re-assembling the
Mini-1 amplifier, any damage caused by incorrect handling will not be
covered by the standard warranty. Do not attempt to adjust internal
jumpers with power connected.
If in doubt, contact Support for help or advice.
Volume bypassed
Amplifier input in direct mode, no volume control
Volume operational
Amplifier input in volume adjust mode.
With the jumper installed (default) the blue power
LED will operate when in use. Remove the jumper to
deactivate the LED.
