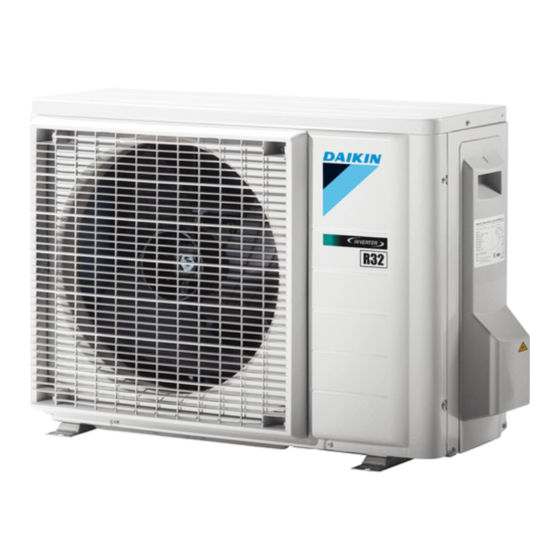
Daikin 4MWXM A9 Series Manuel d'installation - Page 10
Parcourez en ligne ou téléchargez le pdf Manuel d'installation pour {nom_de_la_catégorie} Daikin 4MWXM A9 Series. Daikin 4MWXM A9 Series 20 pages.

6 Charging refrigerant
WARNING
Connect the refrigerant piping securely before running the
compressor. If the refrigerant piping is NOT connected and
the stop valve is open when the compressor is run, air will
be sucked in. This will cause abnormal pressure in the
refrigeration cycle, which may result in equipment damage
and even injury.
1 Connect the liquid refrigerant connection from the indoor unit to
the liquid stop valve of the outdoor unit.
b1
d1
To air-conditioning unit:
a1
Liquid stop valve
b1
Gas stop valve
c1
Liquid service port
d1
Gas service port
To DHW tank:
a2
Liquid stop valve
b2
Gas stop valve
d2
Gas service port
2 Connect the gas refrigerant connection from the indoor unit to
the gas stop valve of the outdoor unit.
NOTICE
It is recommended that the refrigerant piping between
indoor and outdoor unit is installed in a ducting or the
refrigerant piping is wrapped with finishing tape.
5.3
Checking the refrigerant piping
5.3.1
To check for leaks
NOTICE
Do NOT exceed the unit's maximum working pressure (see
"PS High" on the unit name plate).
NOTICE
ALWAYS use a recommended bubble test solution from
your wholesaler.
NEVER use soap water:
▪ Soap water may cause cracking of components, such
as flare nuts or stop valve caps.
▪ Soap water may contain salt, which absorbs moisture
that will freeze when the piping gets cold.
▪ Soap water contains ammonia which may lead to
corrosion of flared joints (between the brass flare nut
and the copper flare).
1 Charge the system with nitrogen gas up to a gauge pressure of
at least 200 kPa (2 bar). It is recommended to pressurize to
3000 kPa (30 bar) in order to detect small leaks.
2 Check for leaks by applying the bubble test solution to all
connections.
3 Discharge all nitrogen gas.
Installation manual
10
5.3.2
To perform vacuum drying
DANGER: RISK OF EXPLOSION
Do NOT open the stop valves before the vacuum drying is
finished.
NOTICE
Connect the vacuum pump to both the service ports of the
gas stop valves.
1 Vacuum the system until the pressure on the manifold indicates
−0.1 MPa (−1 bar).
a2
b2
2 Leave as is for 4-5 minutes and check the pressure:
d2
If the pressure...
a1
Does not change
c1
Increases
3 Vacuum the system for at least 2 hours to a manifold pressure
of −0.1 MPa (−1 bar).
4 After turning the pump OFF, check the pressure for at least
1 hour.
5 If you do NOT reach the target vacuum or CANNOT maintain
the vacuum for 1 hour, do the following:
▪ Check for leaks again.
▪ Perform vacuum drying again.
NOTICE
Make sure to open the stop valves after installing the
refrigerant piping and performing vacuum drying. Running
the system with the stop valves closed may break the
compressor.
6
Charging refrigerant
6.1
About the refrigerant
This product contains fluorinated greenhouse gases. Do NOT vent
gases into the atmosphere.
Refrigerant type: R32
Global warming potential (GWP) value: 675
Periodical inspections for refrigerant leaks may be required
depending on the applicable legislation. Contact your installer for
more information.
WARNING: MILDLY FLAMMABLE MATERIAL
The refrigerant inside this unit is mildly flammable.
WARNING
▪ The refrigerant inside the unit is mildly flammable, but
normally does NOT leak. If the refrigerant leaks in the
room and comes in contact with fire from a burner, a
heater, or a cooker, this may result in fire, or the
formation of a harmful gas.
▪ Turn OFF any combustible heating devices, ventilate
the room, and contact the dealer where you purchased
the unit.
▪ Do NOT use the unit until a service person confirms
that the part from which the refrigerant leaked has been
repaired.
Then...
There is no moisture in the
system. This procedure is
finished.
There is moisture in the
system. Go to the next step.
4MWXM-A9
R32 Split series
3P600450-7T – 2022.09
