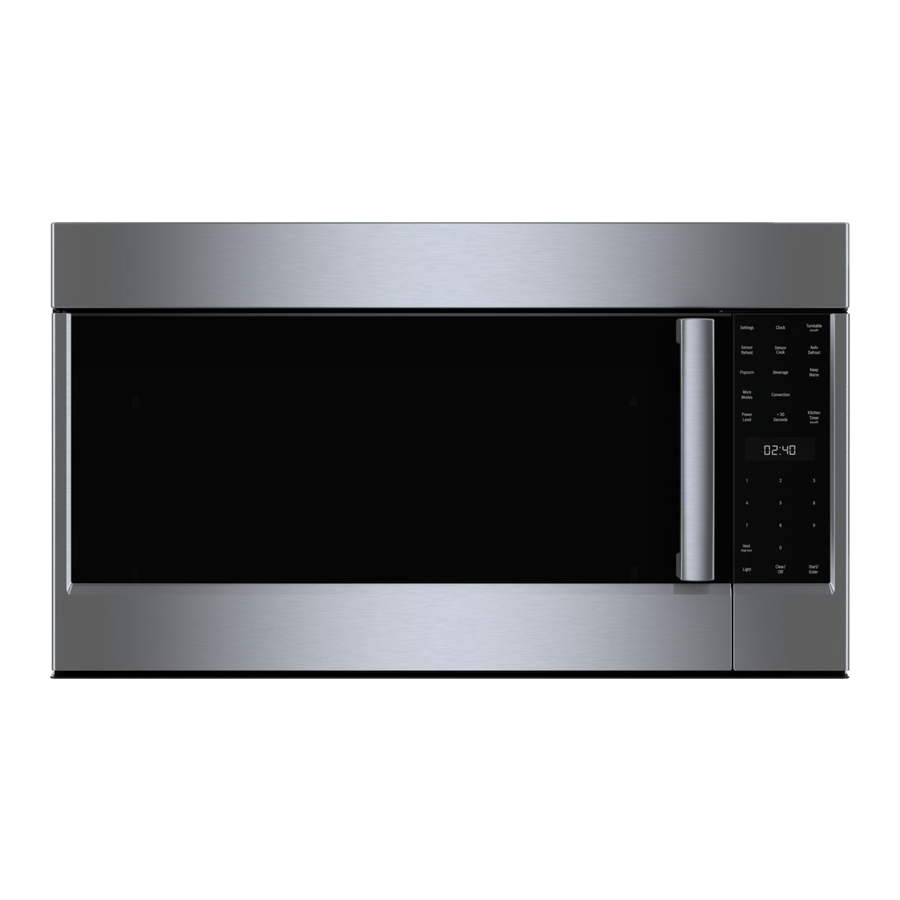
Bosch 800 Series Manuel d'utilisation et d'entretien - Page 25
Parcourez en ligne ou téléchargez le pdf Manuel d'utilisation et d'entretien pour {nom_de_la_catégorie} Bosch 800 Series. Bosch 800 Series 40 pages. Built-in wall ovens
Également pour Bosch 800 Series : Manuel d'instructions d'installation (24 pages), Manuel d'installation (40 pages), Manuel d'utilisation et d'entretien (12 pages), Manuel d'installation (23 pages), Manuel d'installation (28 pages), Manuel d'installation (32 pages), Manuel d'instruction (32 pages), Manuel d'installation (32 pages), Manuel de démarrage rapide et de sécurité (7 pages), Manuel d'utilisation et d'entretien (40 pages), Manuel d'installation (40 pages), Manuel d'installation (32 pages), Manuel d'instructions d'installation (40 pages), Manuel d'installation (48 pages), Manuel d'utilisation et d'entretien (33 pages), Manuel d'utilisation et d'entretien (49 pages), Manuel de démarrage rapide (7 pages), Manuel de démarrage rapide et de sécurité (13 pages), Manuel d'installation (32 pages), Manuel d'entretien (36 pages), Manuel d'instructions d'installation (29 pages), Manuel d'utilisation et d'entretien (24 pages), Manuel d'instructions d'installation (28 pages)

