Dragonfly DFRM-NTT-130-ALR Manuel d'installation - Page 11
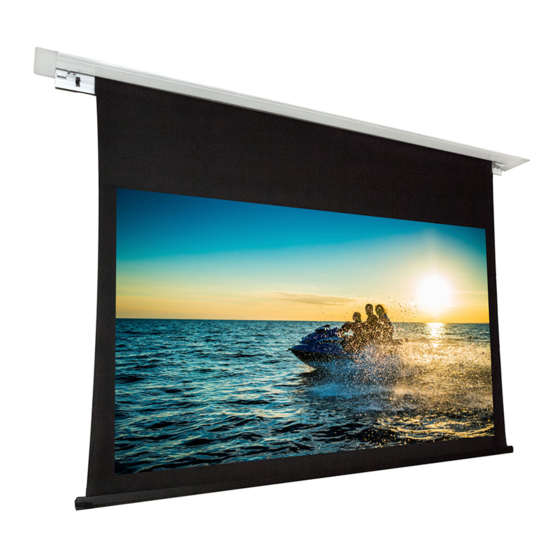
Parcourez en ligne ou téléchargez le pdf Manuel d'installation pour {nom_de_la_catégorie} Dragonfly DFRM-NTT-130-ALR. Dragonfly DFRM-NTT-130-ALR 17 pages. Recessed in-ceiling motorized projection screen

Step 9. Install the Trim Pieces
Install the end caps after the screen has been installed and leveled.
Step 10. Install the Fixed Panel
1. Begin with the screen completely retracted so that the hinged door is closed.
2. Ensure that the rubber stops on the magnetic brackets in the housing are resting against the
hinged door when closed for proper alignment of both doors.
3. Lower the screen enough for the hinged door to open and fall out of the way.
4. Install the fixed panel by hooking the edge into the front of the housing, then pushing the
panel up until the magnets attach it to the brackets.
5. After installing the panel, retract the screen to the closed position and adjust as needed for
flush appearance.
DFRM Installation Manual
Pg. 11
