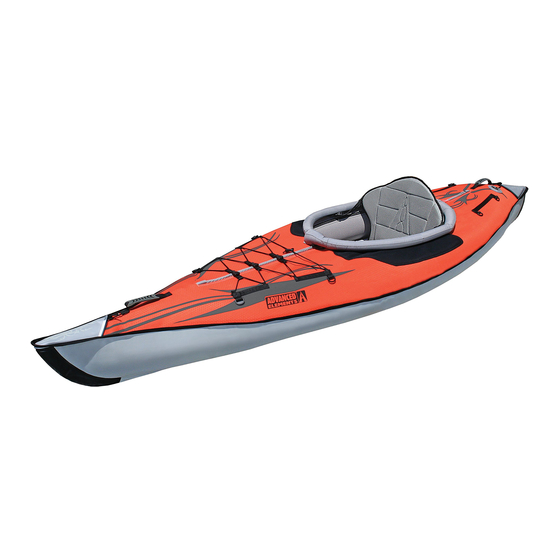
Advanced Elements AdvancedFrame AE1012 Manuel du propriétaire - Page 8
Parcourez en ligne ou téléchargez le pdf Manuel du propriétaire pour {nom_de_la_catégorie} Advanced Elements AdvancedFrame AE1012. Advanced Elements AdvancedFrame AE1012 20 pages. 1 person kayak
Également pour Advanced Elements AdvancedFrame AE1012 : Manuel du propriétaire (19 pages), Manuel du propriétaire (20 pages)

TM
2. Place the AdvancedFrame™ tube (with Ribs installed), into the Outer Skin, making sure that
the air valve is upright and at the back of the boat and lined up with the opening on the outer
cover. Chamber 1 and 2 are separate chambers but equalize in pressure because they are
inside a fabric cover. Ideally you want to put half of the air in chamber 1 and half in chamber
2. This way if you suddenly lose pressure in one chamber you should have another chamber
as a safety.
3. With the AdvancedFrame™ tube installed inside the outer skin place the inflatable floor
inside the center of the AdvancedFrame Expedition™ with twist valve up.
4. Attach the adjustable backrest to the AdvancedFrame™ side tubes by fastening buckles.
3.2 Understanding Your Valves
Advanced Elements AdvancedFrame Expedition™ kayak uses the following valves. It has the
function and durability of other military type valves and is compatible with most standard
pumps. The lock nut holds the valve in place with the cover for easy inflation. The following
figures will have details on how to operate the valves.
NOTE:
Deflate - Push-in center stem and
rotate clockwise to the locked position.
Valve stem should be pushed-in.
Inflate - Push-in center stem and
rotate counter-clockwise to the locked
position. Valve stem should be pushed out.
Figure 1. Inflate/Deflate Spring Valve
OPERATING THE "TWIST" VALVES
TWIST TO OPEN / INFLATE / THEN CLOSE
1
PUMP HOSE
2
Figure 2. Inflate/Deflate Twist Valve
INSERT
TWIST VALVE
