Advanced Elements AE2040 Manuel du propriétaire - Page 6
Parcourez en ligne ou téléchargez le pdf Manuel du propriétaire pour {nom_de_la_catégorie} Advanced Elements AE2040. Advanced Elements AE2040 10 pages.

TM
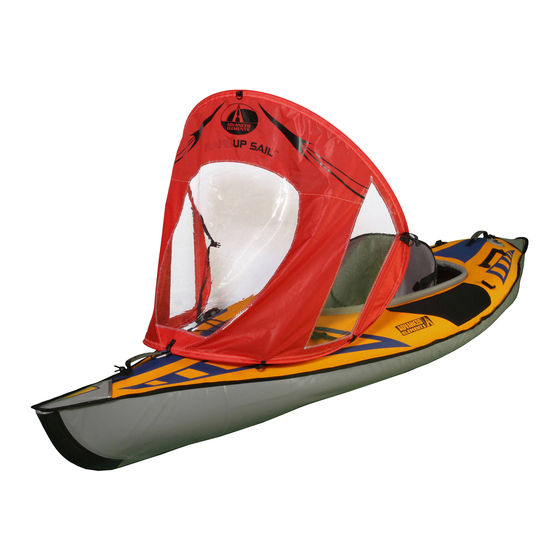
AirFusion Kayak: (Model 1040)
1. Connect the Carabiner to the forward most d-ring closest to the front of the kayak.
2. Clip the Forward Snap Hooks to the kayak d-rings closest to the d-ring that you
just clipped the Carabiner to (see image 1). You will need to adjust the snap hooks,
shortening them up to the sail as much as possible.
3. Clip the Rear Snap Hooks to the kayak d-rings closest to the cockpit of the kayak
(see image 1). You will need to adjust the snap hooks, shortening them up to the
sail as much as possible.
Lagoon and DragonFly Kayaks: (Models AE1001, AE1021, AE1031,
AE1003, AE 1023, AE1033)
1. Clip the Carabiner (located on the central bottom d-ring) to the handle of your kayak.
2. Clip the Forward Snap Hooks to the kayak d-rings closest to the bow of the kayak
(see image 1). You will need to adjust the snap hooks to about the middle of their
length.
3. Clip the Rear Snap Hooks to the kayak d-rings closest to the cockpit of the kayak
(see image 1). You will need to adjust the snap hooks to about the middle of their
length.
4. Clip the Stabilization Lanyards to the top side d-rings.
5. Tie the two Stabilization Lanyards to the d-ring located at the front of the cockpit.
Tie the lanyards so that they are taught, but do not tie them so tight that you are
pulling the sail inwards.
StraitEdge Kayaks: (Models AE1006, AE1008, AE1014)
1. Clip the Carabiner (located on the central bottom d-ring) to the handle of your kayak.
2. Adjust the two Forward Snap Hooks out to their full length, run them under the
StraitEdge Bow Rib, and snap them together (see images 1 and 4).
3. Adjust the Rear Snap Hooks out to about mid-length and then loop each snap
hook through the straps located on the sides of the StraitEdge bow air bag and
clip each snap hook onto its own webbing (see image 4).
4. Clip the Stabilization Lanyards to the top side d-rings.
5. Tie the Stabilization Lanyards to the same buckles that the seat attaches to
(see image 5). Tie the lanyards so that they are taught, but do not tie them so
tight that you are pulling the sail inwards.
6
Image 4
